

09 Apr Photography in Marketing: 9 Tips on Creating Images

Photography in Marketing: 9 Tips on Creating Images
Humans are visual beings.
On average, only 20% of text content is retained in the reader’s memory.
Visuals are far more memorable: people tend to remember around 80% of images they’ve seen.
This is why well-crafted imagery is a more powerful marketing tool than any creative tagline or post.
Successful photography in Marketing is different from your typical Instagram selfies, however.
They have to communicate why the featured product or service is worth the person’s attention.
Whether you’re a marketing student or a young hobbyist photographer, understanding how to take compelling, captivating photos is a crucial skill to put on the resume.
Moreover, you can quickly turn photography in Marketing into a side hustle.
“But if I do my homework and get straight As, I’ll be fully prepared for the job market after graduation, right?”
Not really.
Real-world skills matter more than grades.
So, if you aim to make a living in marketing or photography, start working on your skillset now.
1 – Understand the Purpose of Photography in Marketing
Before you even think about setting up the props, ask these questions:
- What will be the main subject of the photoshoot?
- Who is the target audience?
- What message(s) do the images have to communicate?
- What medium will be used to distribute them?
The most common types of photos used in marketing are:
- Product photography. The main subject is the product itself. Usually, product images are close-ups. They can be still life or include one or several people using it.
- Fashion photography. This imagery features models wearing apparel or jewellery.
- Lifestyle photography. It works best for lifestyle brands. The critical point here is to create imagery that reflects the target audience’s current or desired lifestyle.
2 – Watch the Lighting
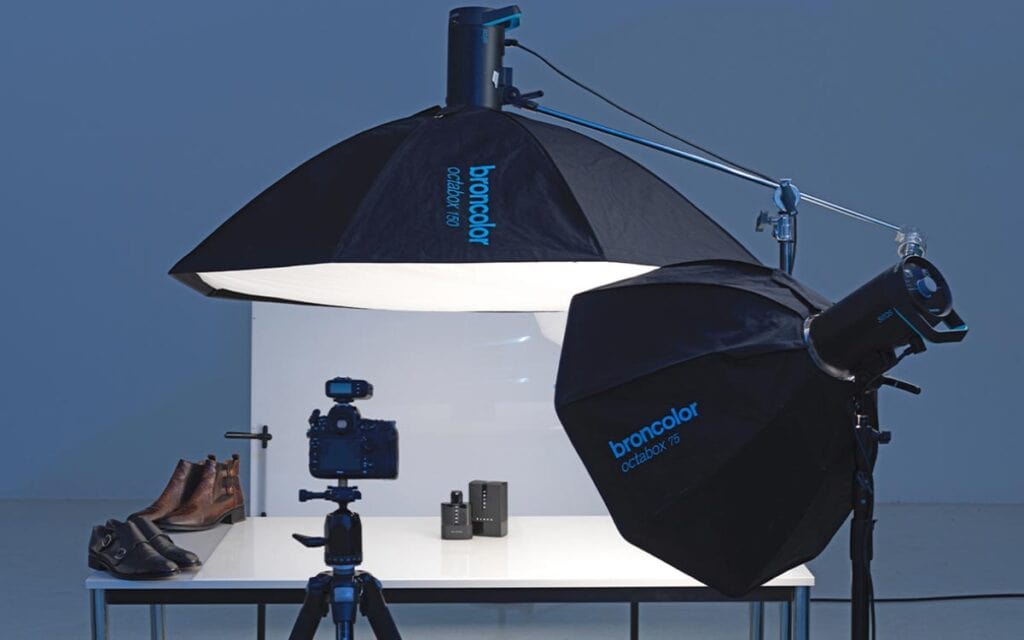
Lighting can be either natural (when shooting outdoors) or artificial (an indoor setting).
For warm natural lighting, plan a shoot during the so-called golden hour.
It’s a short period before sunset or after sunrise when the sun basks everything in warmth.
It can last between 20 minutes and an hour, depending on the time of the year and location.
As for artificial lighting, you can use something as basic as a smartphone’s flashlight (or a regular one).
Use a white sheet of paper or carton to reflect the light.
If you’re in control of the lighting, experiment with angles and the light’s hardness.
The harsher the light is, the sharper, more pronounced the shadows are.
The position of its source will determine the direction and length of the shadows.
3 – Use the Rule of Thirds
Enable grid lines on your device to achieve a knockout composition.
Just make sure the subject is aligned with one of the vertical or horizontal grid lines for a refreshing composition.
There’s nothing wrong with centred imagery: it’s just different.
Non-centred images, however, have one advantage: there’s enough room for adding some text later on.
4 – Pay Attention to the Background
Backdrops for product imagery don’t have to be expensive.
A table surface, a sheet of paper, or canvas can serve as one.
Be mindful, though: every wrinkle or scratch will be more noticeable in an image than with the naked eye.
Consider adding props around the product, too.
Just make sure they aren’t going to distract the viewer’s eye from the main subject.
5 – Choose the Colours Wisely

The colour palette can impact the perception of a photo.
Bright yellow, for example, is associated with youth and energy, orange – with warmth, blue – with stability and security.
To nail the colour palette, pick the primary colour and add between one and three complementary colours.
Strive to create a contrast between the main subject and the background or other things/people in the frame.
6 – Take Candid Shots
When working with models, combine posed photos with candid ones.
Just ask them to move around as they would naturally and play the paparazzi while they do.
Candid shots have a more authentic feeling to them.
The thing is, even the most experienced model won’t be able to fake a smile or laughter indistinguishable from a genuine one.
7 – Experiment with the Angle & Distance
Explore each of these angles to see which one(s) will produce the most compelling result:
- High angle: stand on a chair or get to a higher vantage point;
- Low angle: crouch or find a lower vantage point;
- Eye-level point-of-view: point and shoot;
- Dutch angle: tilt the camera for a fresh perspective;
- Worm’s-eye view: place the camera on or close to the ground.
Remember to discover how different distances affect the outcome, too.
If you have a DSLR camera, explore what impact the focal length has.
If that’s not the case, never zoom in manually: the quality will suffer.
Instead, move closer or further yourself.
8 – Take Extra Shots
Shoot more than you think you’ll need, even from the same angle and distance.
First of all, there can always be an unexpected issue: a fly buzzing in the frame or the autofocus failing to work correctly.
Secondly, experimenting automatically means taking more shots. Of course, you won’t use all of them.
But you won’t know which idea works the best until you try all of them and see the results.
9 – Bank on Authentic & Unconventional Photos
Remember the stock photos of models that scream “ungenuine”? This is the first pitfall to omit.
Strive for authenticity; as mentioned above, candid photos are perfect for that.
The second worst adjective to describe an image is “forgettable” – mainly when it’s shot for marketing purposes.
Aim to create imagery that would be captivating or surprising enough to make someone’s eyes linger on it.
To avoid being too conventional:
- Shoot not only the product itself but also how it’s used in a real-world setting.
- Do your research on similar brands and products, too.
- Take a note of the standard visual themes – and do something that hasn’t been done yet.
What tips for photography in Marketing have we missed? Let us know in the comments below.