04 Mar How to Create Professional Logo Packages for Your Clients
How to Create Professional Logo Packages for Your Clients
Exporting the tens or even hundreds of logo files your clients need after you finish designing a logo can be a boring and stressful task. You might not be sure which file formats to give them.
Should you send the full logo and the logo mark individually? How should you name and organize the files?
Even if you already understand all of these details, you know that manually exporting logo files one-at-a-time can suck away valuable time you could be spending on more creative (and rewarding) tasks.
So how can you rid yourself of the dread that comes with packaging logos forever? You can use the Logo Package Express extension for Adobe Illustrator! It automatically generates, exports, names and sorts hundreds of logo files into a super simple logo package that even technophobe clients can understand. And it takes less than 5 minutes.
Here’s how to use Logo Package Express.
Step 1: Set Your Final Logo
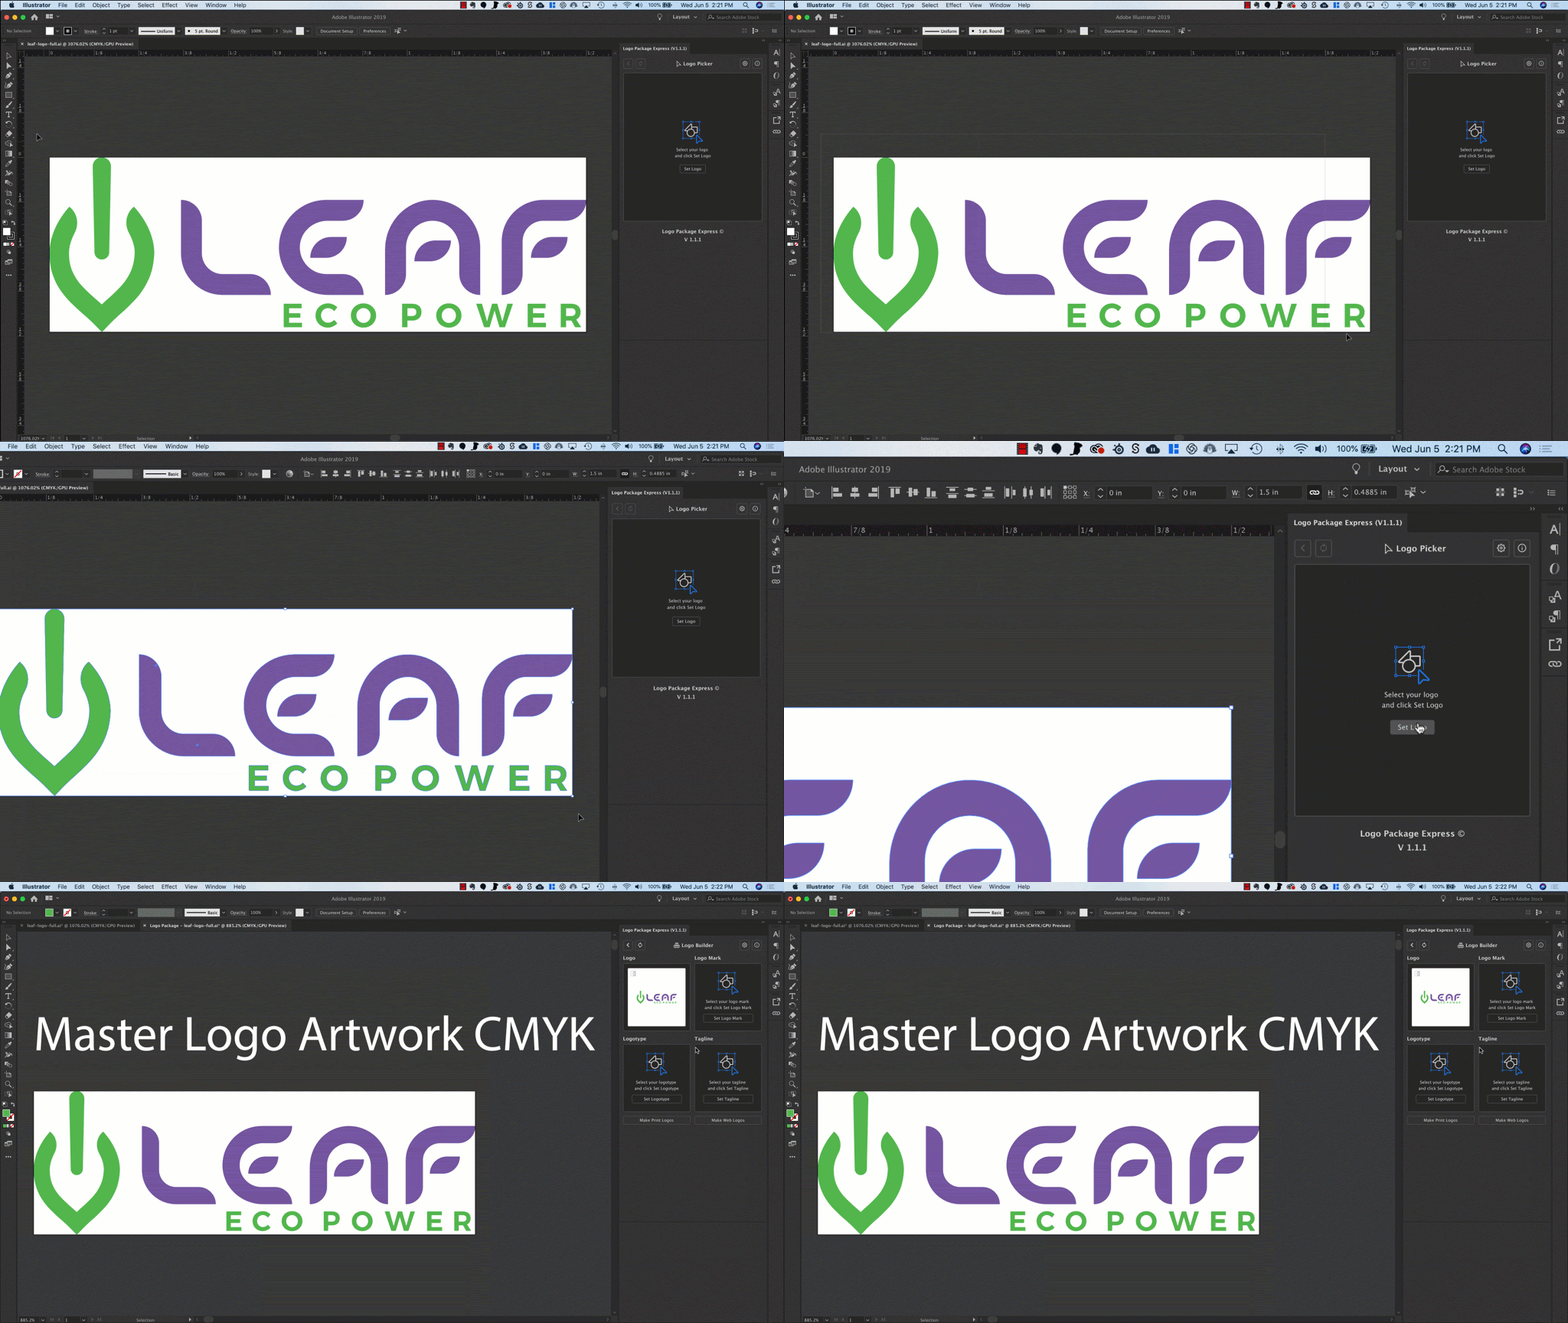
Open up your final logo design file. Then make a selection of your complete logo and click “Set Logo.” Voilà! A new document is created with a copy of your logo.
The artwork stays the same size as it was in your design file, but now you can continue your export without modifying your original design.

Step 2: Set the Different Components of Your Logo
Logos are usually composed of different pieces. Logo Package Express allows you to set up to three of those pieces:
- a logo mark (usually a graphic, icon, or symbol)
- a logotype (the name of the company or organization)
- and a tagline (slogan)
If your logo doesn’t utilize all of these pieces, don’t worry, you only need to set the components that you want exported by themselves.
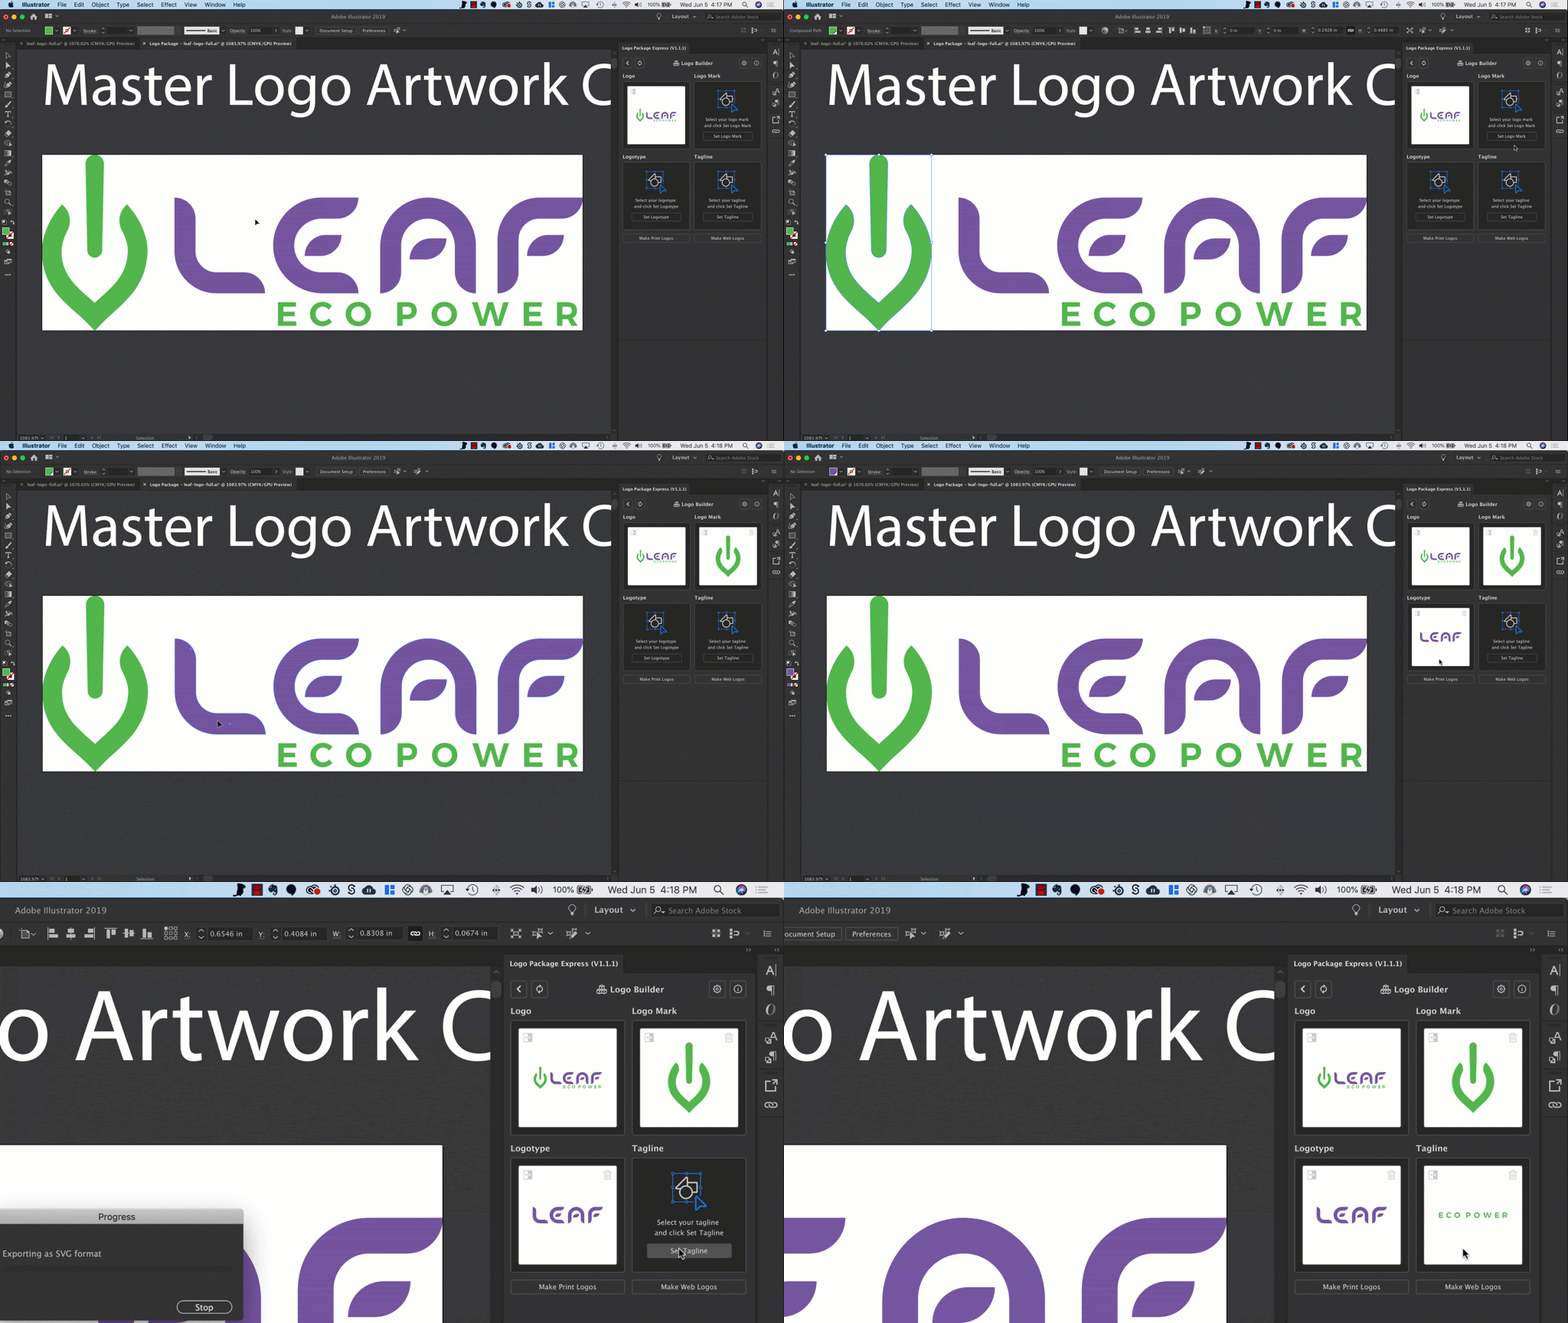
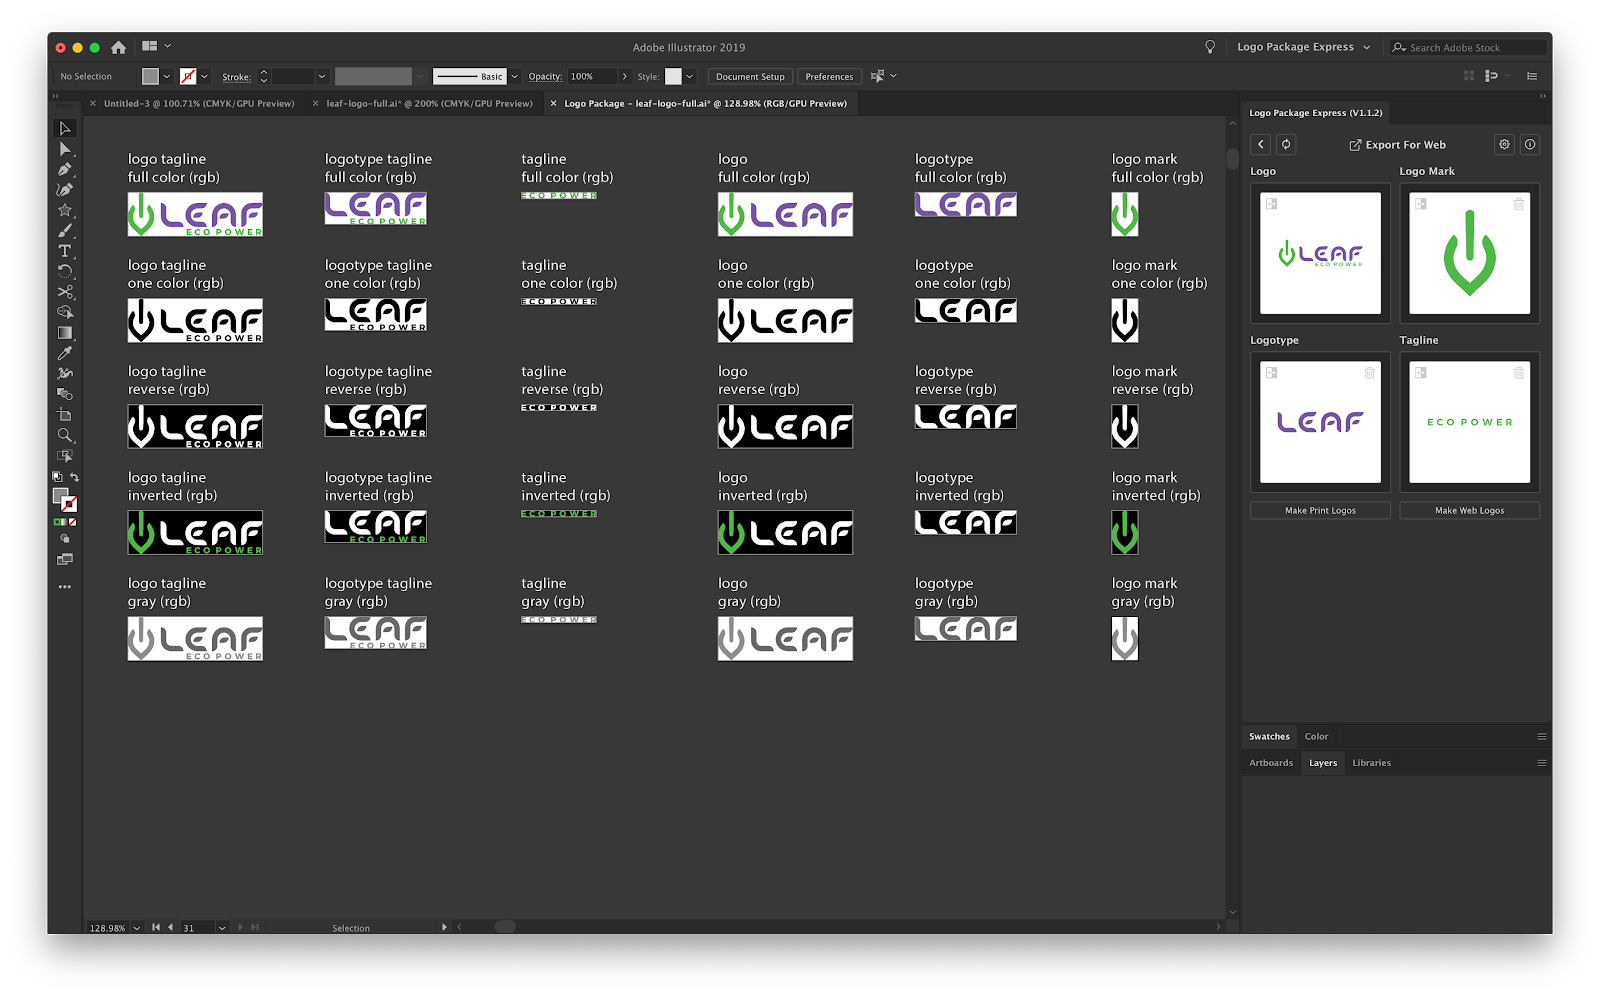

Here is an example of a logo that has all three components (logo mark, logotype, and tagline).
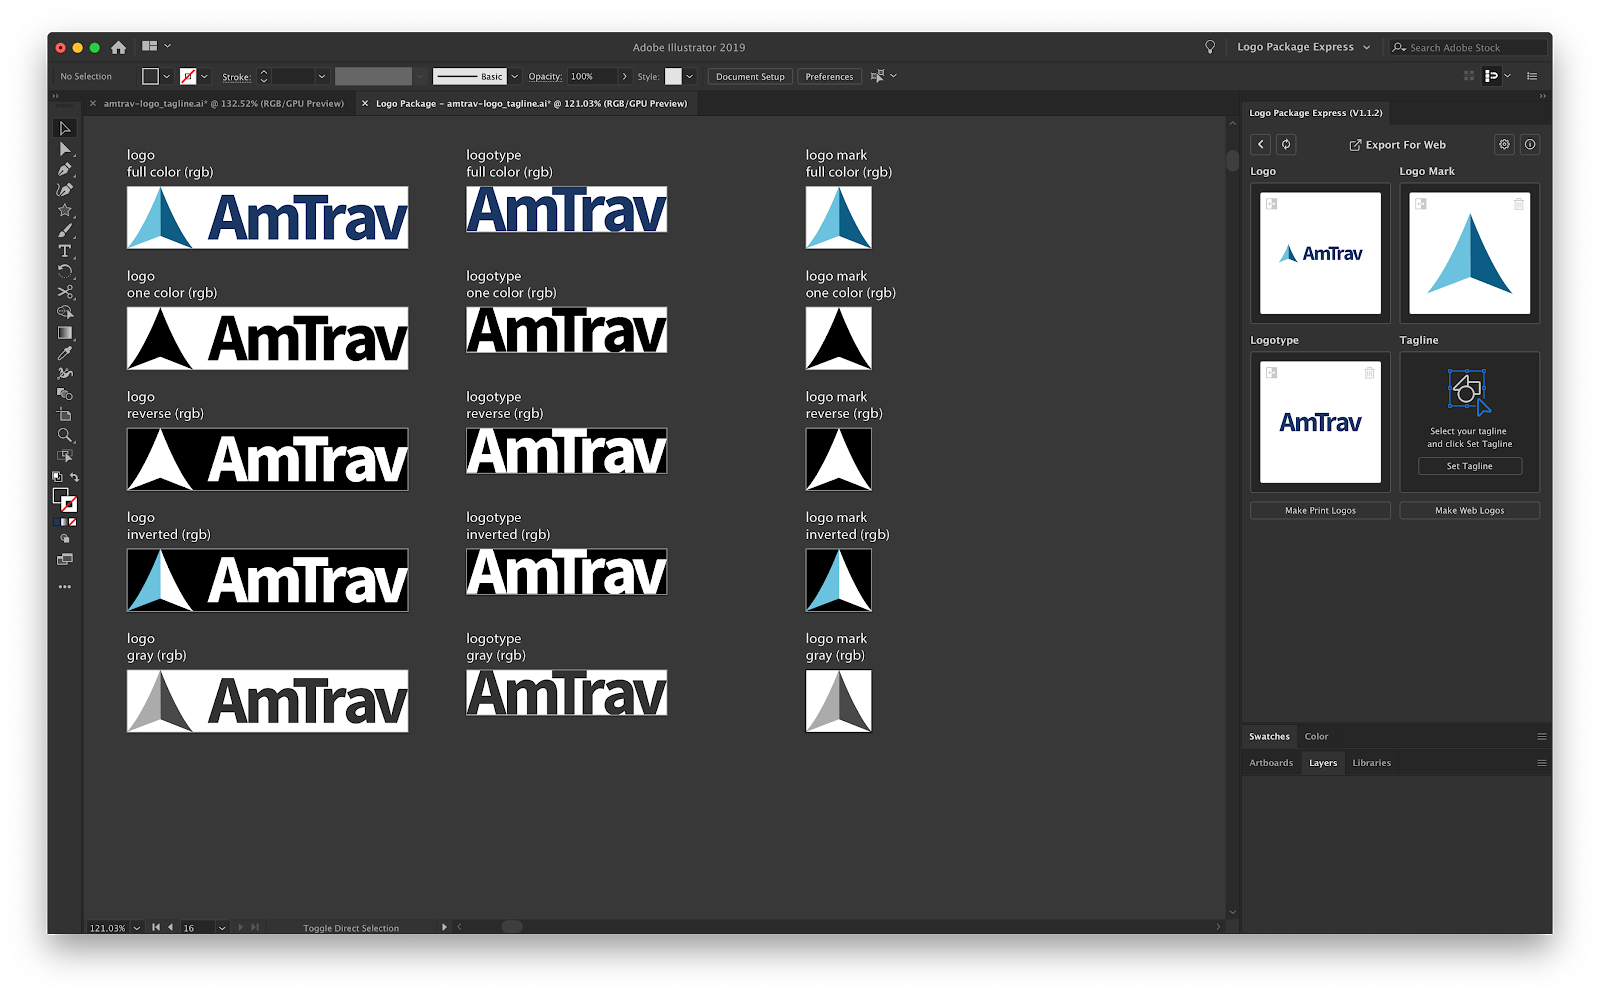
If your logo doesn’t have a tagline, no problem, just set the mark and the logotype.
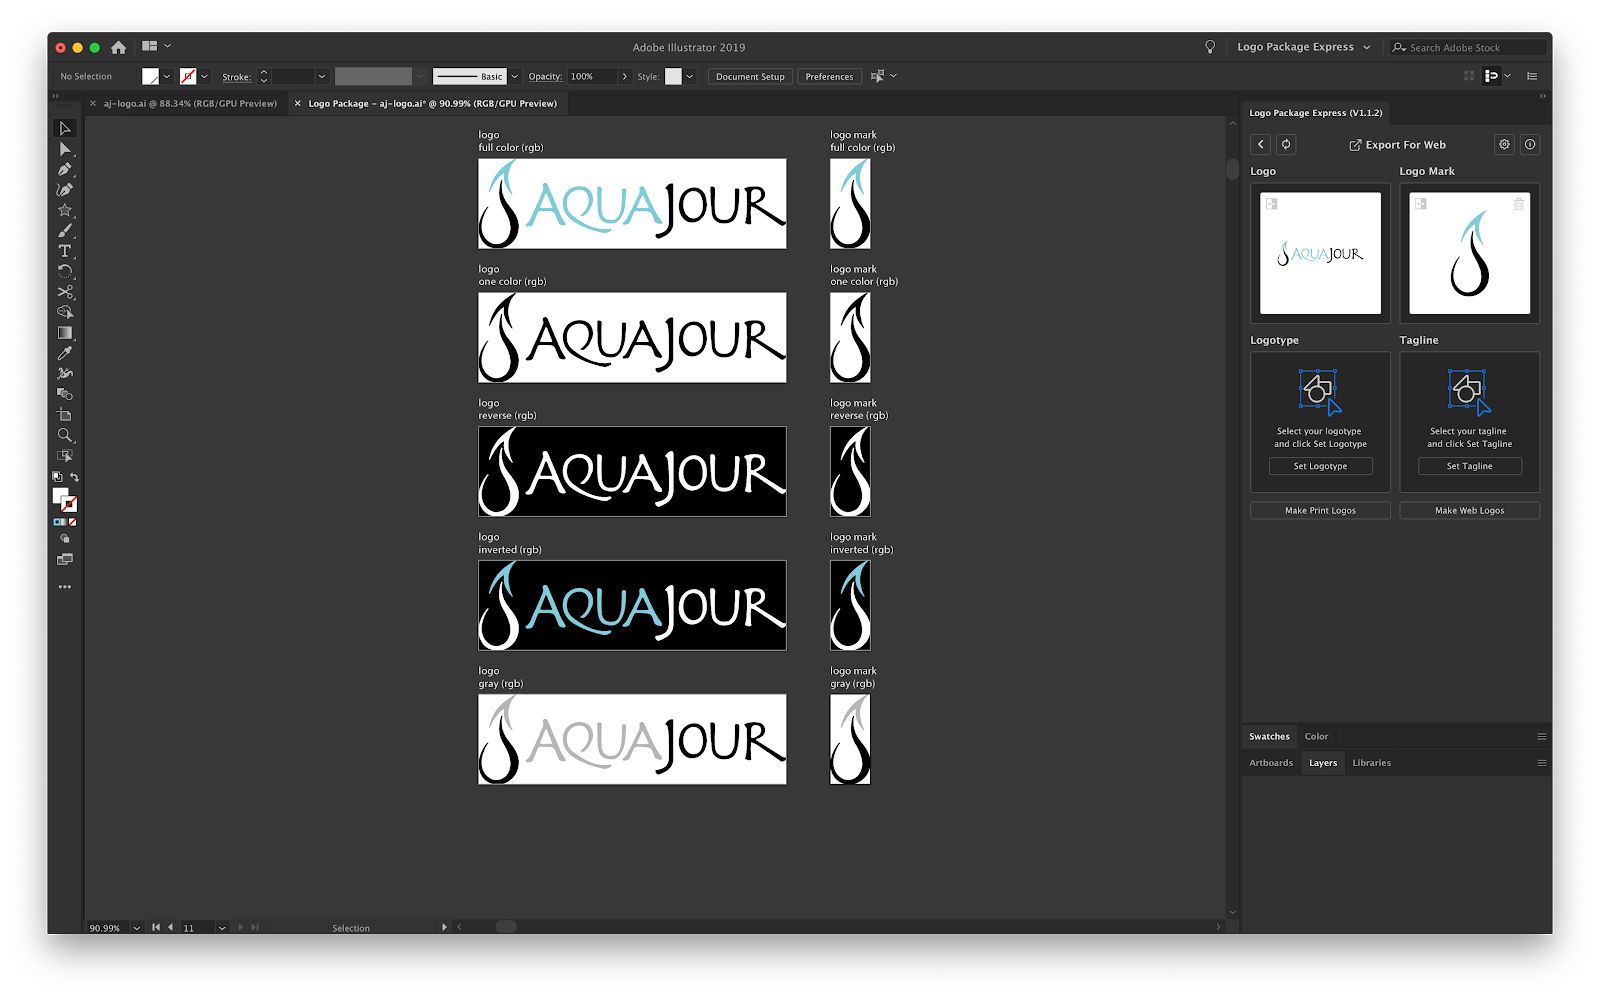

Perhaps you have a simple logo, and don’t need the logotype by itself. Just set the mark and make logos.
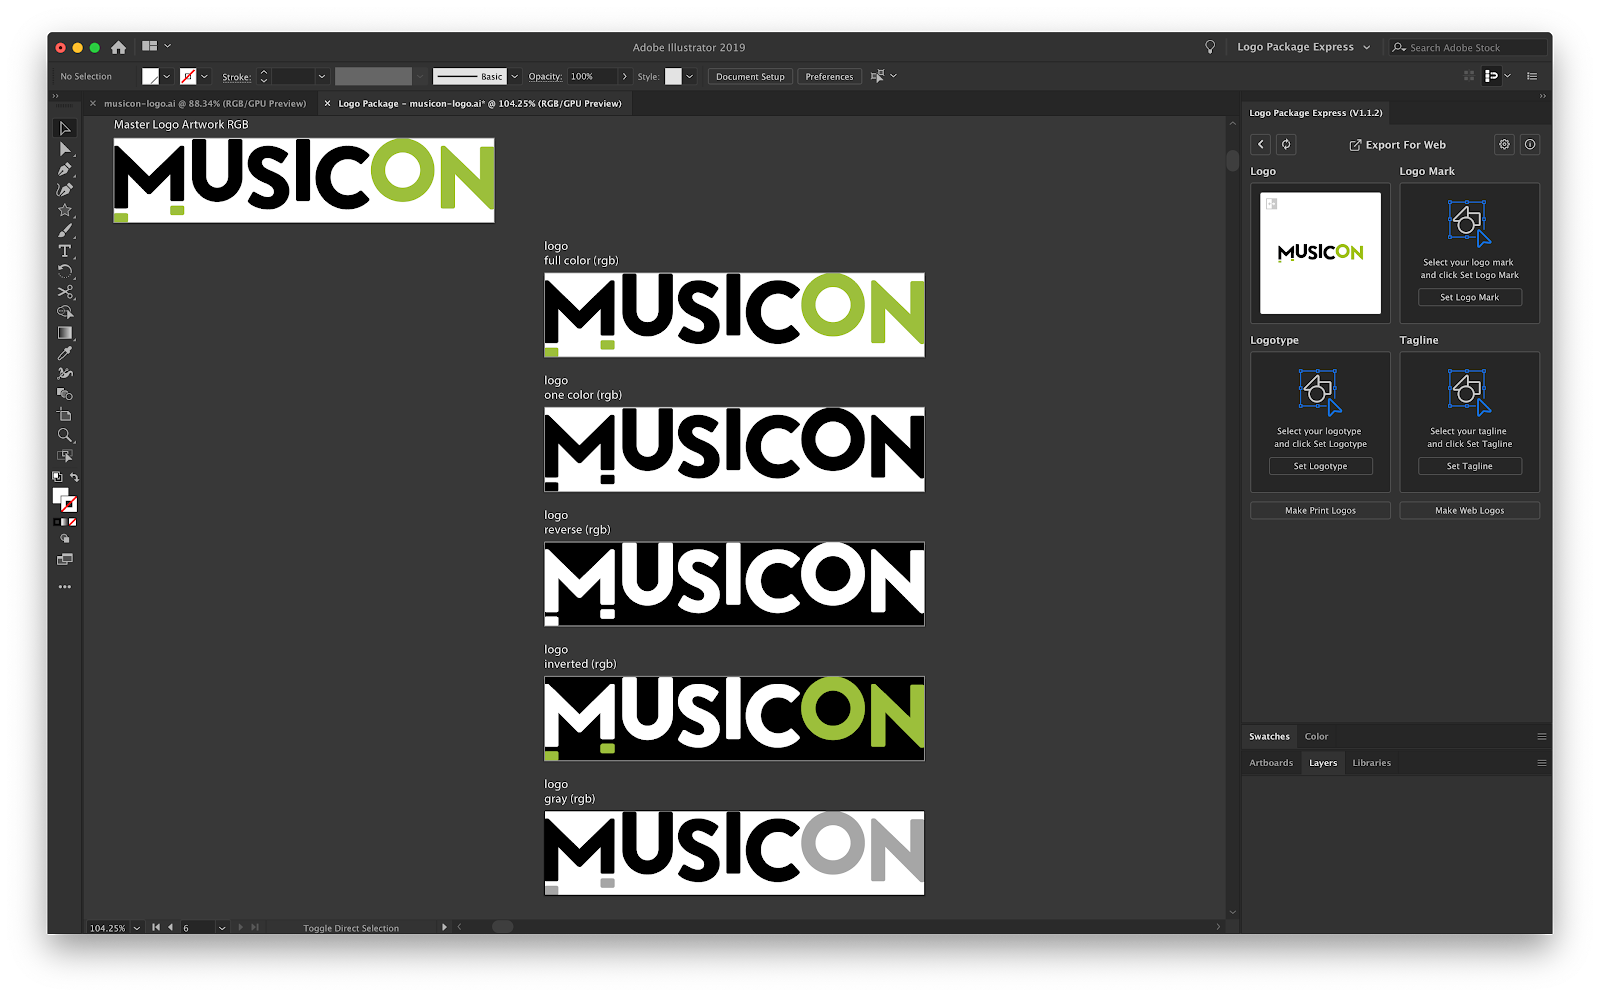

If your logo is only one component, set the full logo and then generate your variations. Simple!
Providing these components on their own is great for clients. They might want to use just their mark for an app icon. They might want the logotype by itself in the footer of their website. Your clients won’t have to come back to you months later asking for random logos.
Step 3: Generate Logo Variations
Now that the different pieces of your logo are set, click the “Make Logos” button and watch Logo Package Express do its magic. The extension will generate logo variations which include separated versions of the components you set and also different combinations of those components. It will automatically recolor all the component variations in different color schemes too:
- Full Color
- All White (Reverse)
- All Black (One Color)
- Mixed Color and White (Inverted)
- Pantone Coated
- Pantone Uncoated
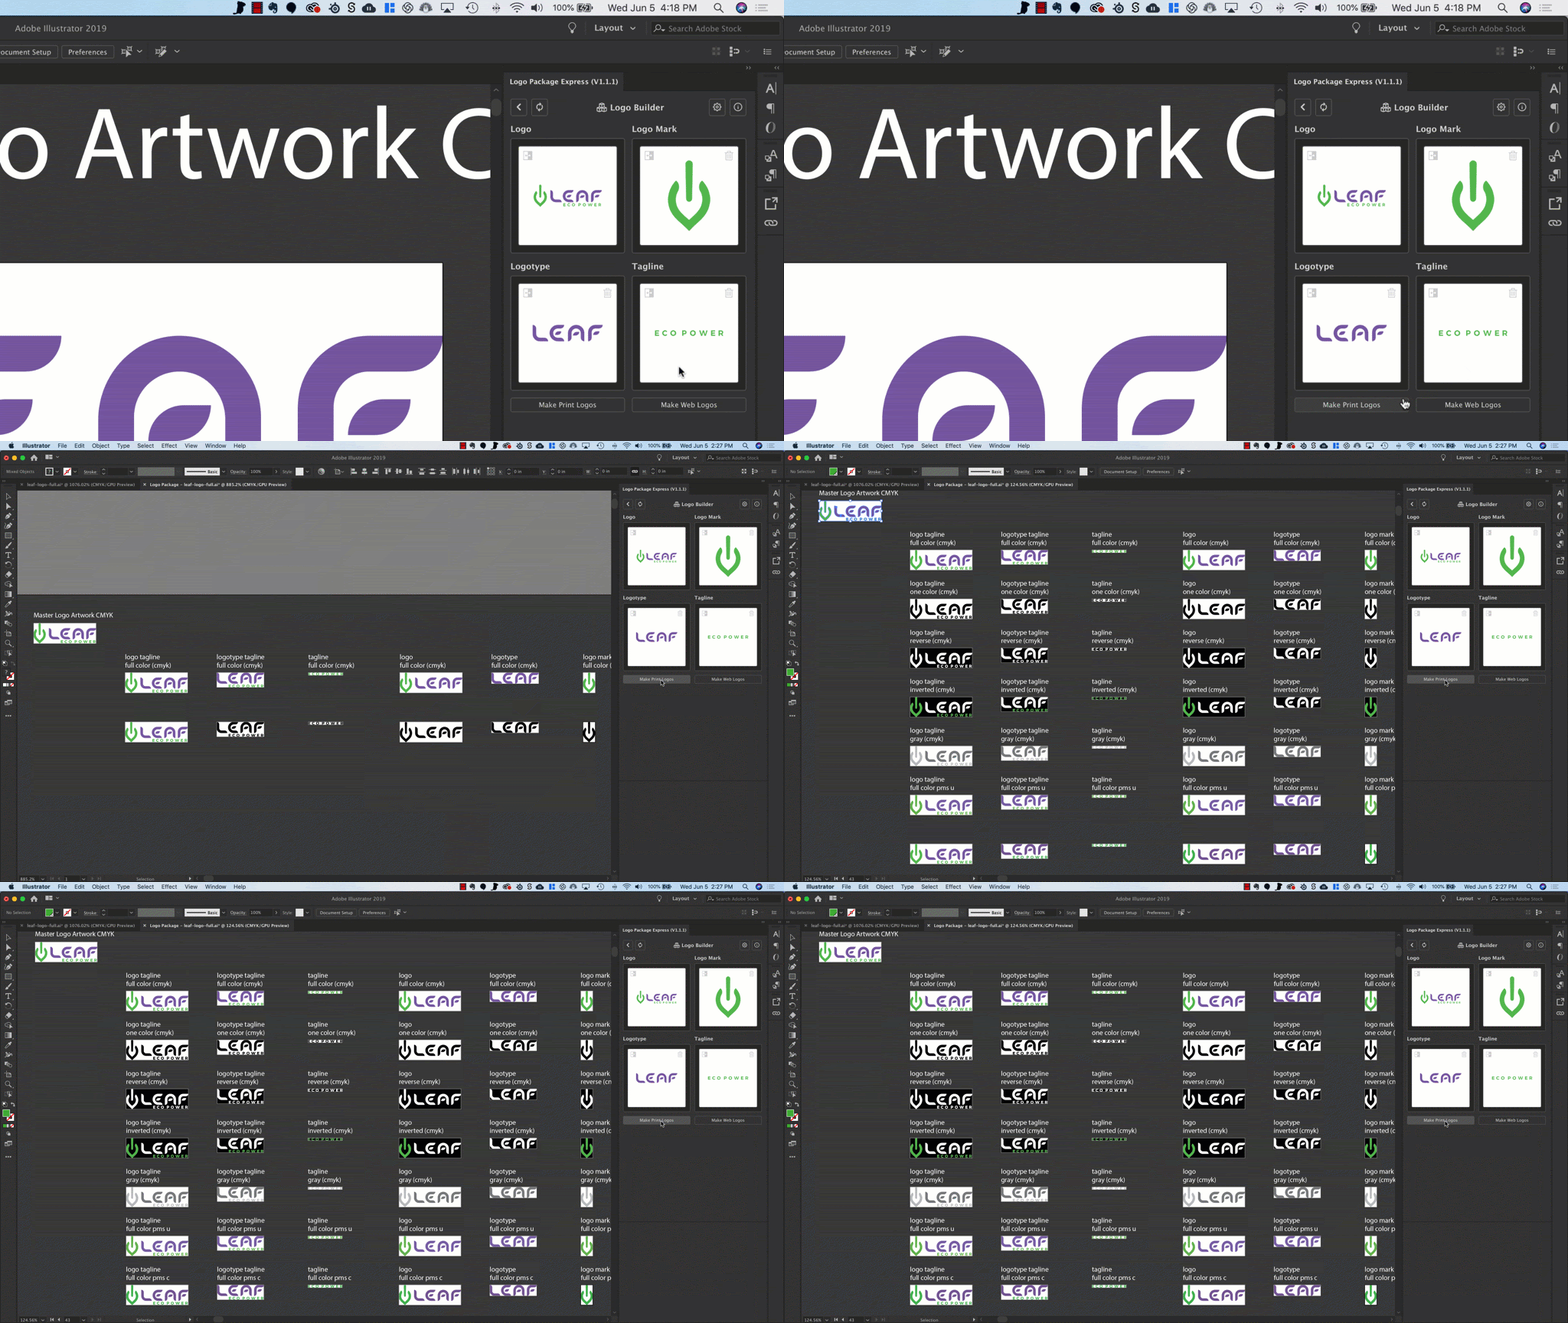
This is also the time where you decide which color gamut you want to export first. Print logos are in CMYK, so if you designed your logo using CMYK colors, you would click the “Make Print Logos” button first.
If you designed your logo in RGB, click “Make Web Logos” instead. Logo Package Express is super flexible, so you can export just the print logos, just the web logos, or both web and print logos. Whatever is best for you and your client.
Step 4: Make Adjustments to Generated Logos
Logo Package Express does a great job of automatically generating logo variations, but you are a designer, and there will be times where things don’t come out how you planned, or the extension makes variations you don’t need.
That’s no problem — simply delete, recolor, or edit any variations that don’t meet your needs before you export. Any changes you make will be preserved in the final exported files.
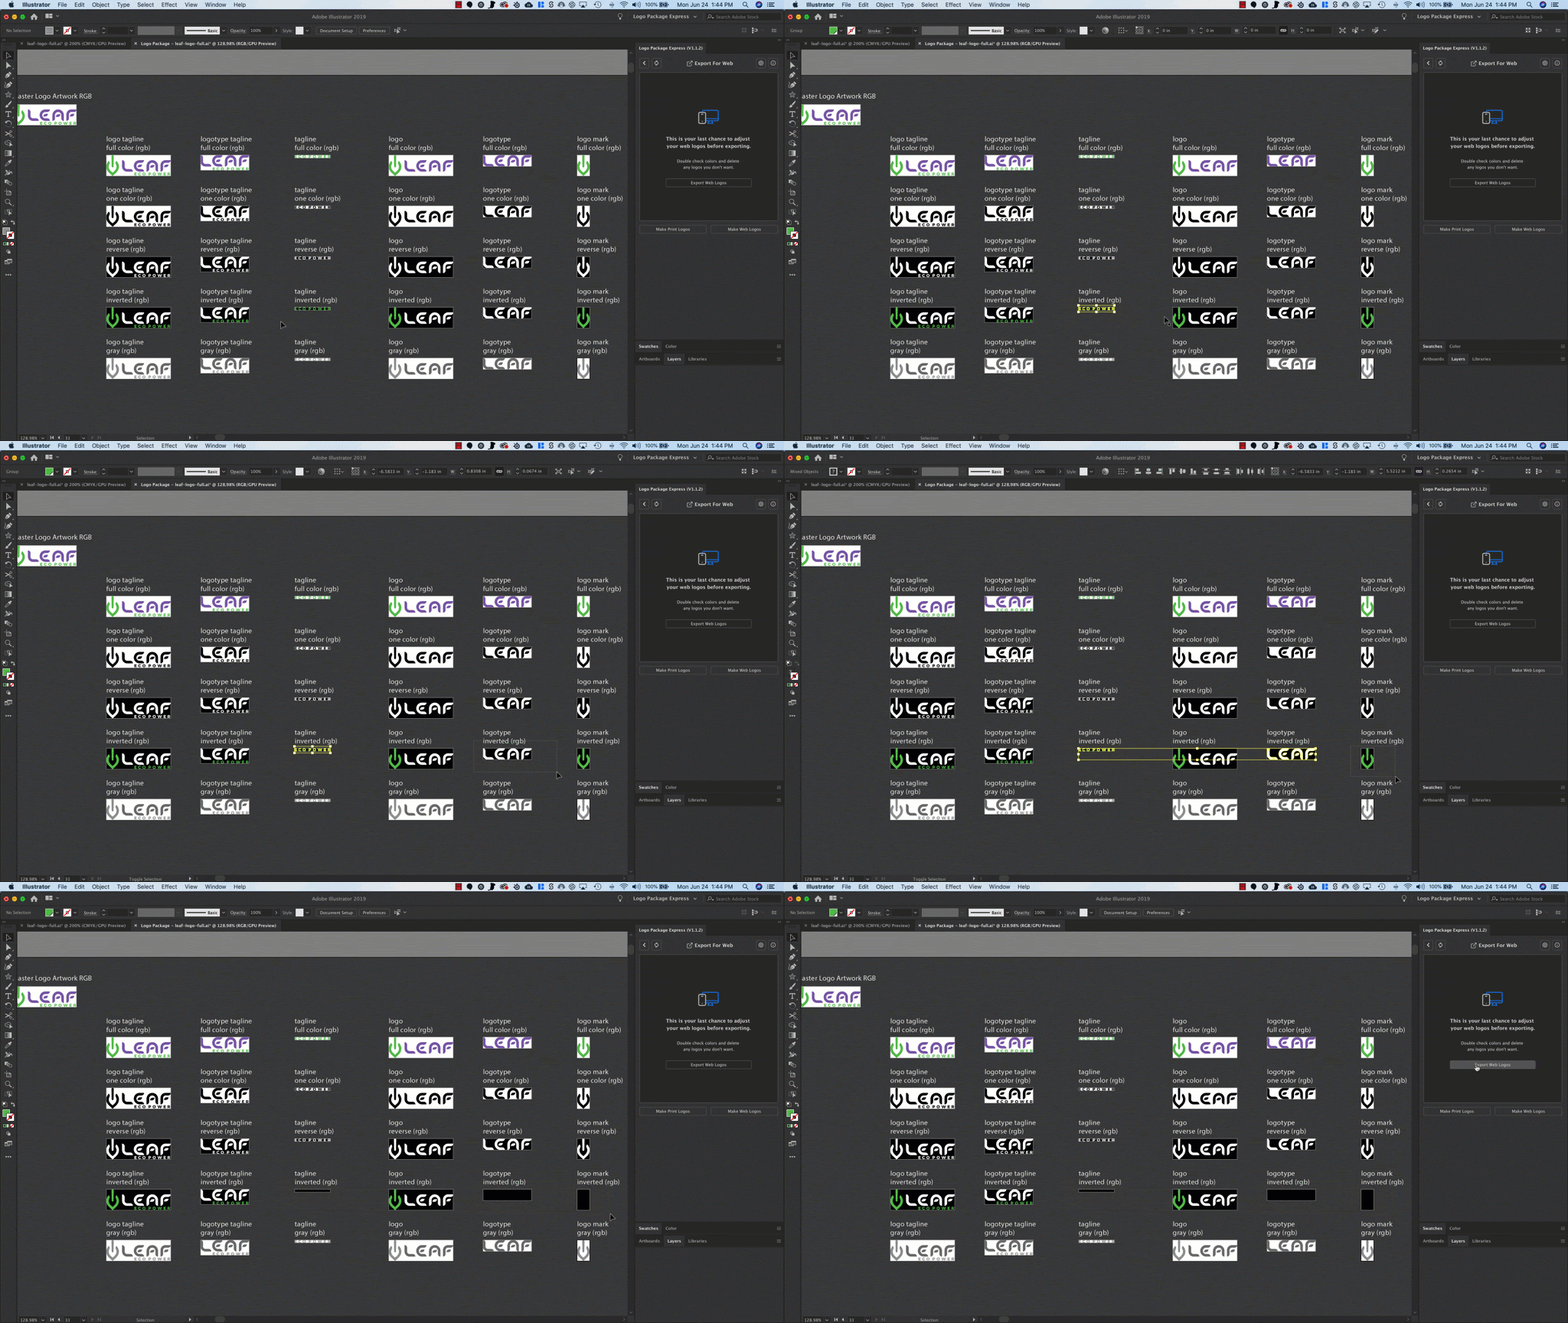
Step 5: Export Logos into Logo Package
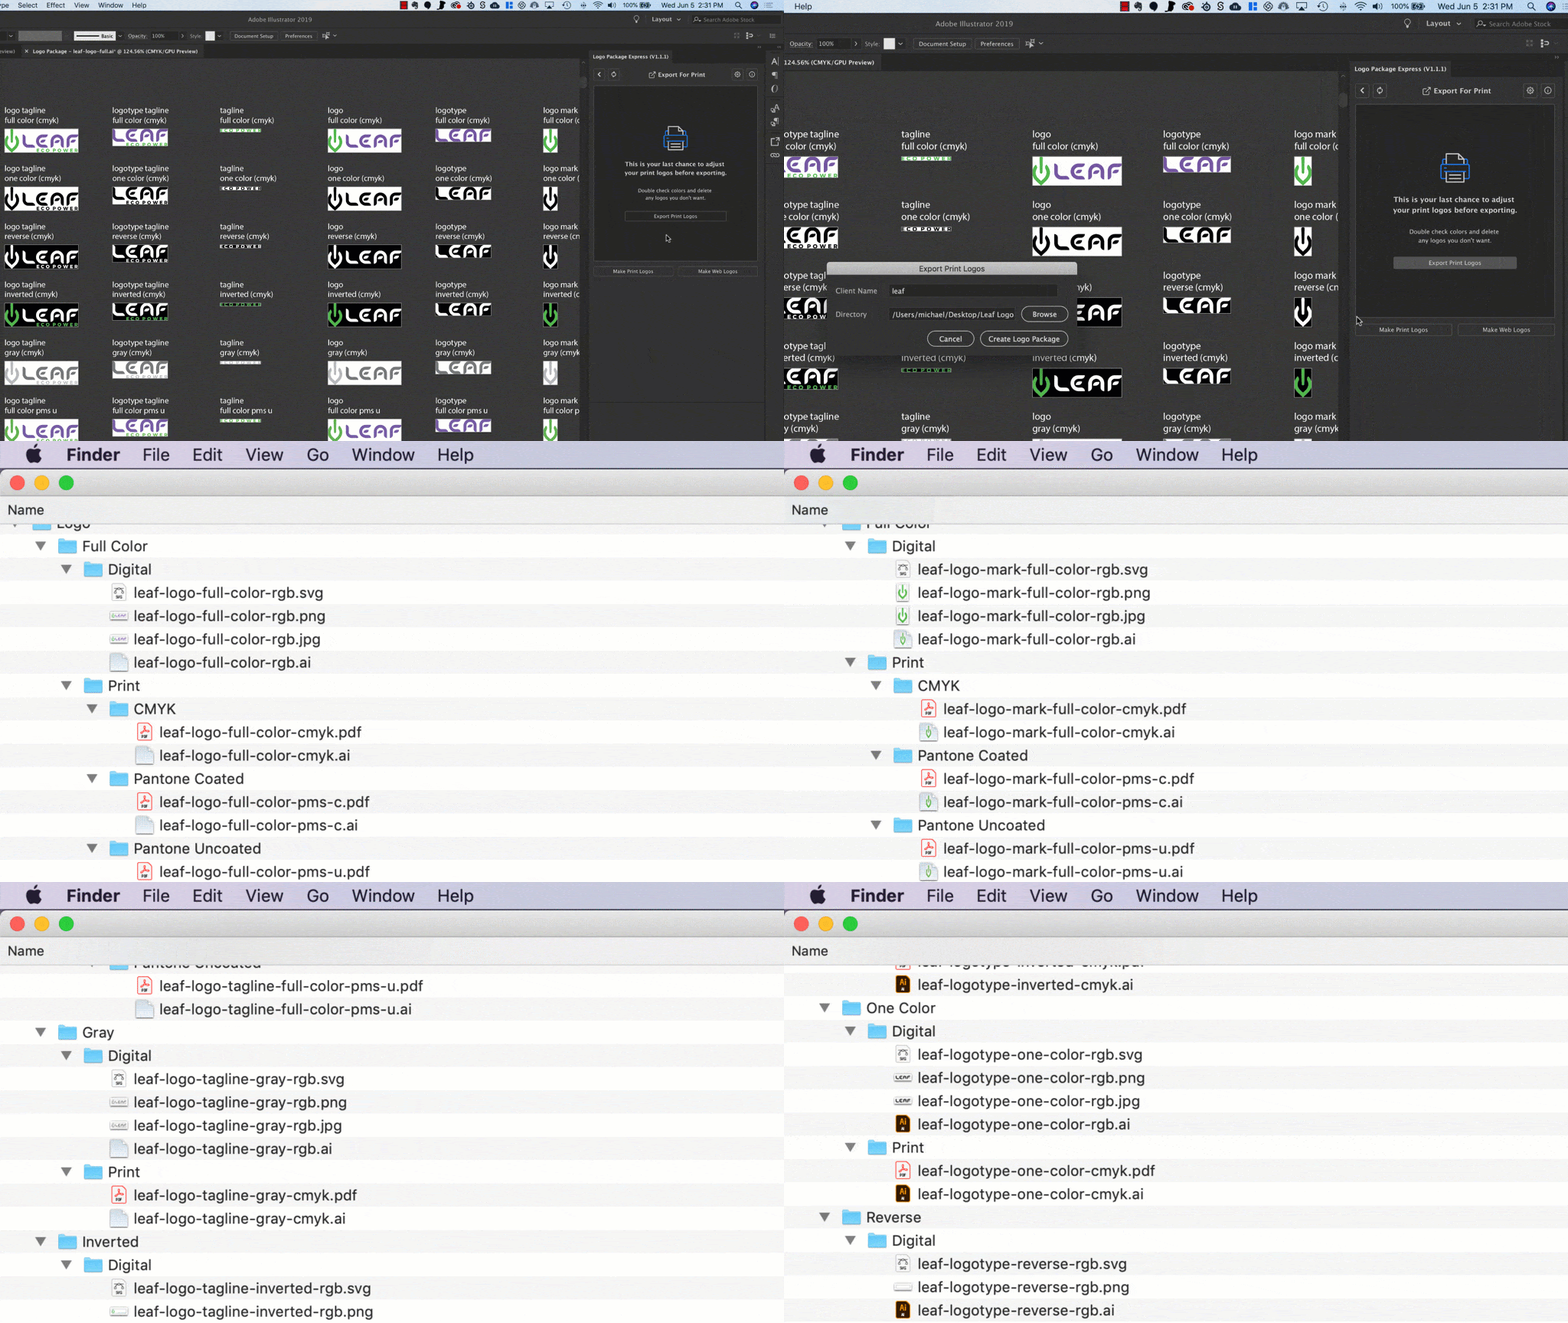
Once the automatically generated logos are modified to your liking, click the export button and watch in astonishment as all those logos are exported, named, and sorted into a well-organized and straightforward folder structure right in front of your eyes.
Your client will appreciate that you provided such an easy-to-use package, and the variety of file types will show your clients that you’ve gone the extra mile and that they’ve gotten the value they paid for.
Step 6: Repeat Steps 3–5 (Optional)
If you want to export both print and web logos, repeat steps 3–5 with the set you haven’t yet completed.
Step 7: Revel in All Your Newfound Free Time (Mandatory)
Your impressive logo package is now complete. You’ve only spent 5 minutes clicking a few buttons and now the rest of the hour you would have spent pushing pixels is yours to use however you want.
Zip up the logo package and send it off to your client, or upload the files to the cloud and email out the link. Your work is done. Make a snack or something — you earned it.
We know Logo Package Express will save you loads of time. That’s why Inkbot Design has worked out a $20 discount for readers of our blog.
[ Get $20 Off ]
Logo Package Express Settings
Ok, that sounds amazing for a totally generic logo, but you’re unique, and you have special requirements. You want to use the Pantones you picked instead of what Logo Package Express provides.
You also might not like the inverted version that was generated. You need to export PNGs that are precisely 900px wide and 144ppi.
Don’t worry friends, Logo Package Express has got you covered. All you have to do is navigate to the settings screen by clicking on the gear icon in the upper right corner of the extension window. Here’s a breakdown of all the settings you can find there.
Selecting File Formats
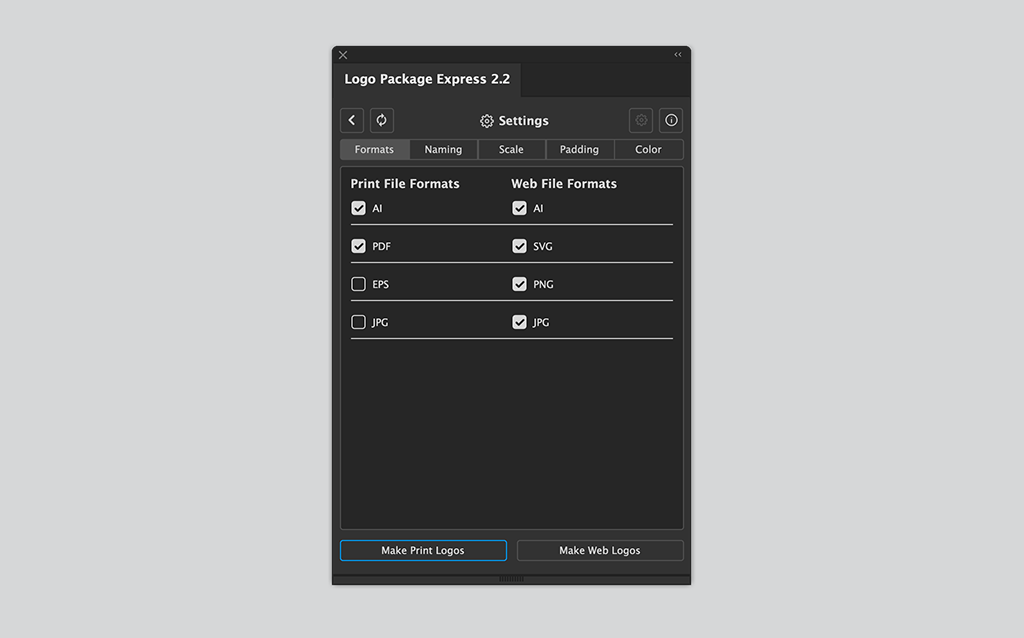
This is the section where you can select all of the file formats you want to include in your logo package.
It’s important to note that EPS under “Print File Formats” is unchecked by default. EPS is a less common file type and clients don’t always need it. EPS also exports much more slowly than the other formats. If you need EPS, simply check the EPS box and it will be included when you export print logos.
Customizing File and Folder Names
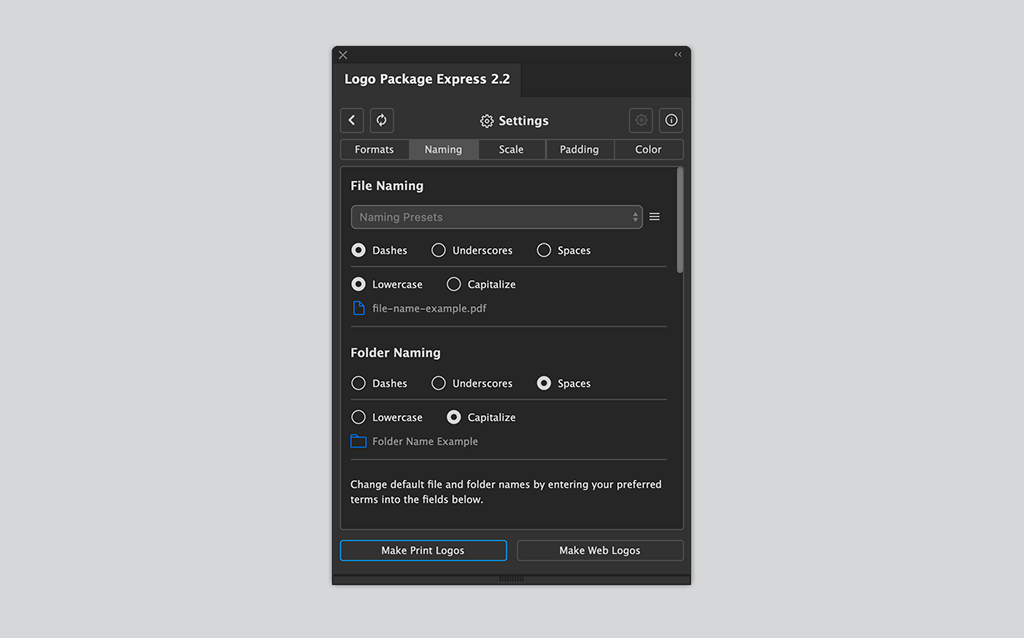
Logo Package Express exports your logos with a predefined file naming convention, but one size does not fit all when it comes to naming files. That’s why Logo Package Express allows you to completely customize the names of the files it exports.
You can set the files and folders to be capitalized or lowercase. You can also specify whether you want to separate the words in your file name with spaces, dashes, or underscores.
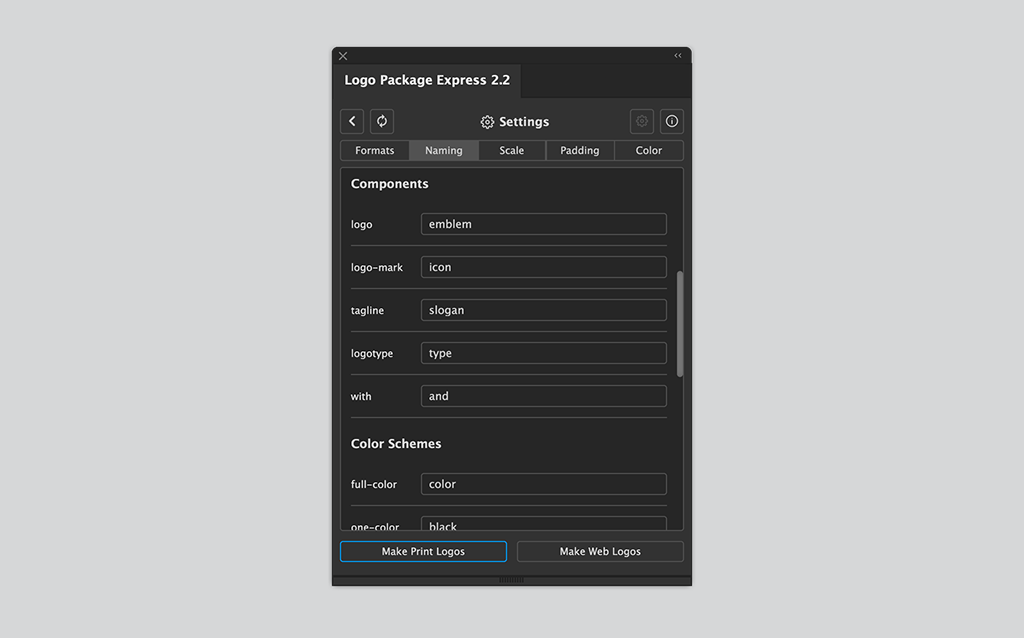
Those are nice technical touches, but the customization factor greatly increases once you start to change the names themselves. The elements of the file naming convention are broken up across Components, Color Schemes, Context, and Color Gamut.
Logo Package Express will replace the default name with whatever you enter into the naming fields. Not only does this allow you to change things like “Logo Mark” to “Icon” if you want, but it also allows you to export your logo packages in completely different languages!
Exporting Multiple Scales
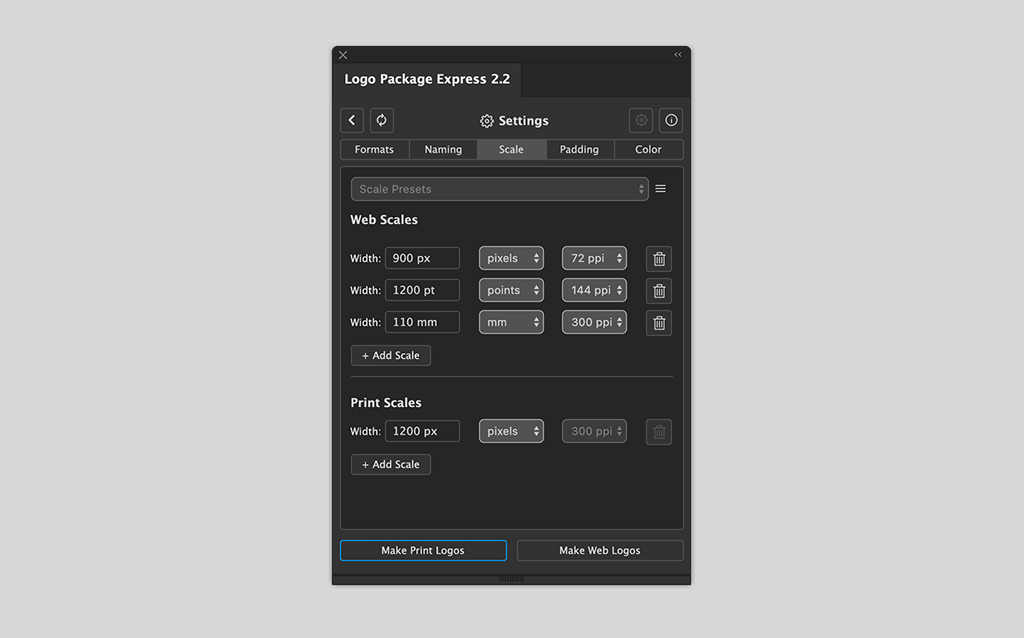
You can customize the size of your raster logos (JPG and PNG) using the Scales tab. This tab has two sections — Web Scales and Print Scales.
The Web Scales section allows you to add and define as many custom scales as you want for the web logos you export. You may choose any unit of measurement you desire, and you can export at 72, 144, or 300 ppi.
The Print Scales section is the same except for one difference. You can only export print logos at 300 ppi. This is because 300 ppi is best practice for print files.
Also, the extension only exports JPGs for print. There is no such thing as a print PNG because PNGs can only contain RGB information.
Adding Padding to the Logos
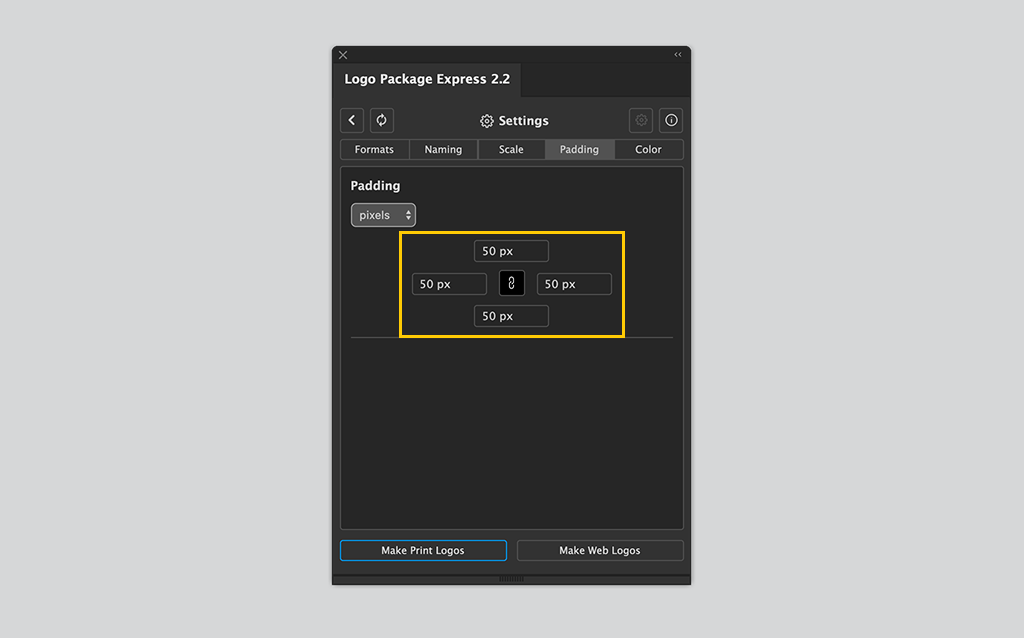
Sometimes designers like to add padding or “clear space” around their logo files so that clients don’t misuse the logo files. This can help prevent clients from putting their logos too close to other design elements.
The padding settings are quite simple. After you pick a unit for your padding, you cn keep the dimensions locked and add equal padding to all sides of the logo, or unlock the dimensions to add custom padding to every side of the logo.
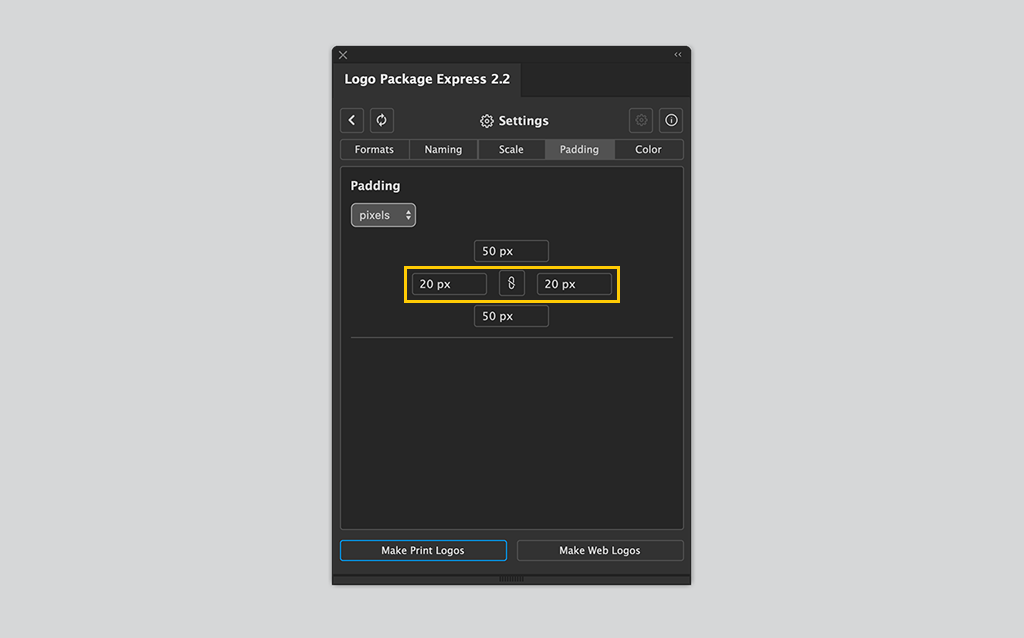
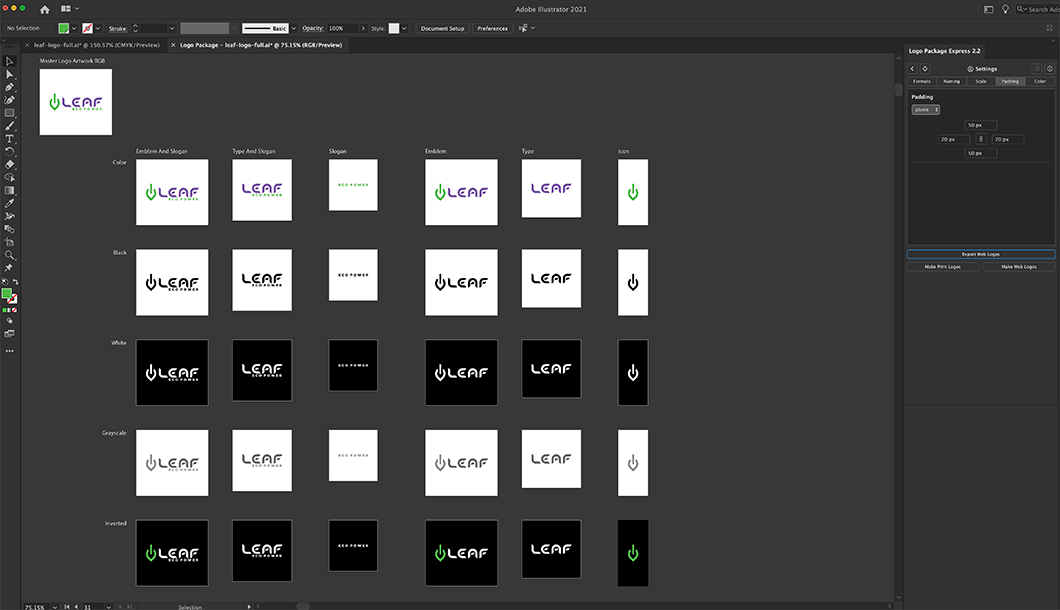
The padding will be applied to all of the components and padding will remain proportional to the overall dimensions of the logo file if you export multiple sizes.
Utilizing Pantone Conversion
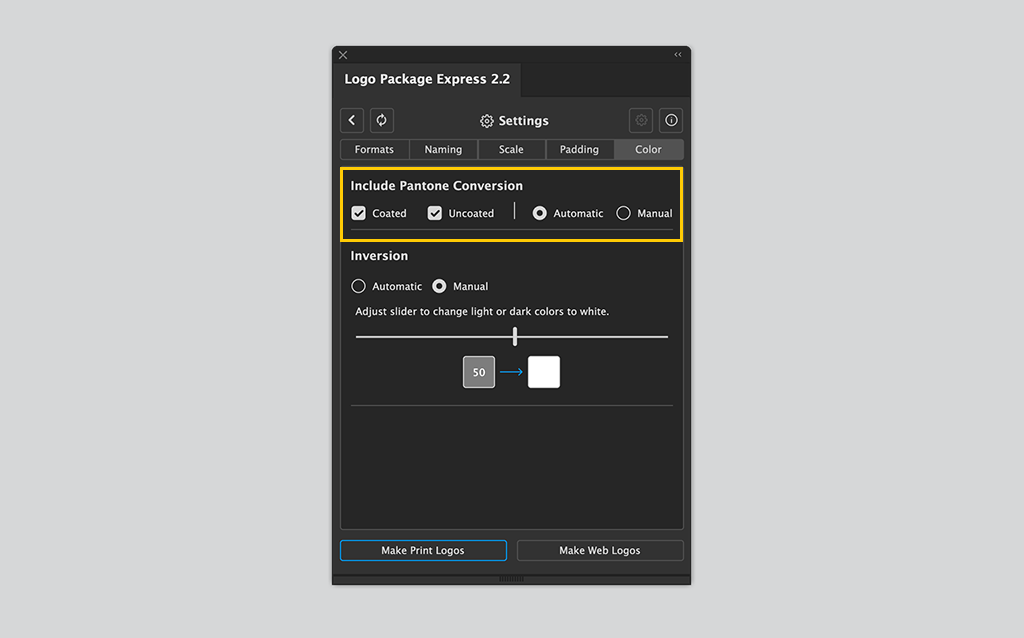
You can manage Pantone settings from the Color tab. You can choose to let Logo Package Express automatically find the best matches for your colors using the Pantone Coated library, the Pantone Uncoated library, or both.
A new row of logo variations gets generated for each box you check.

The next settings for Pantone allow you to use your own pre-selected Pantone colors instead of the colors that the extension generates automatically. If you select “Automatic,” the extension finds the best match for your colors and applies them automatically.
If you choose “Manual,” the extension generates new logos with artboards that are labeled Pantone, but the artwork will be in CMYK and need to be manually recolored using your pre-selected Pantone colors.
If the final logo artwork that you set is already using Pantone colors, Logo Package Express will preserve those Pantone swatches and then apply them to the Pantone variations when you generate print logos.
Creating Logos with Inverted Color Schemes
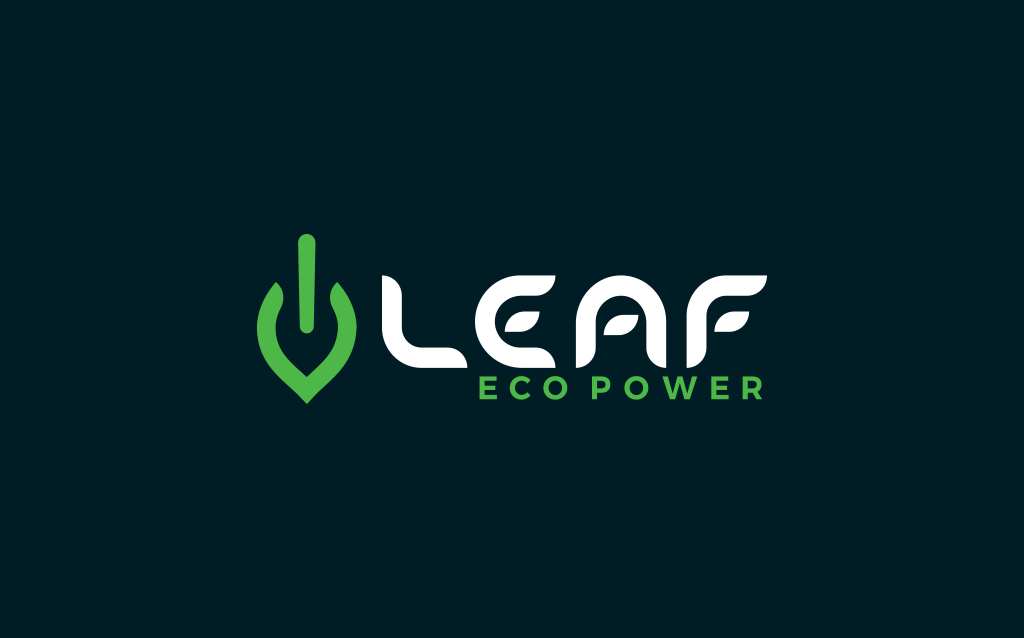
The inverted color scheme is useful when you want to put a color version of your logo on a dark color, but want to keep some parts of your logo (usually the type) white for better contrast.
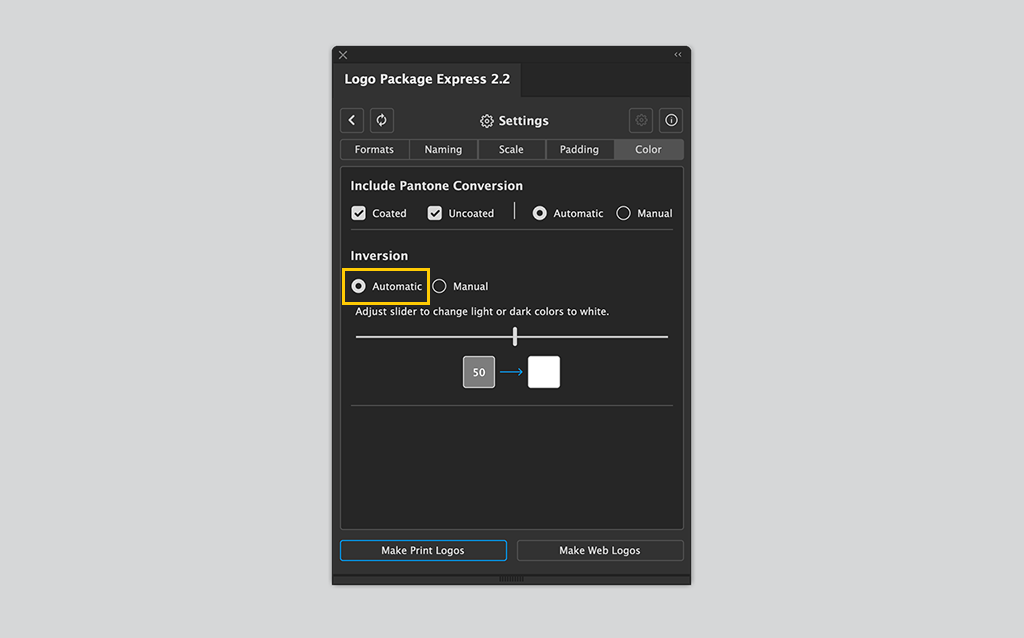
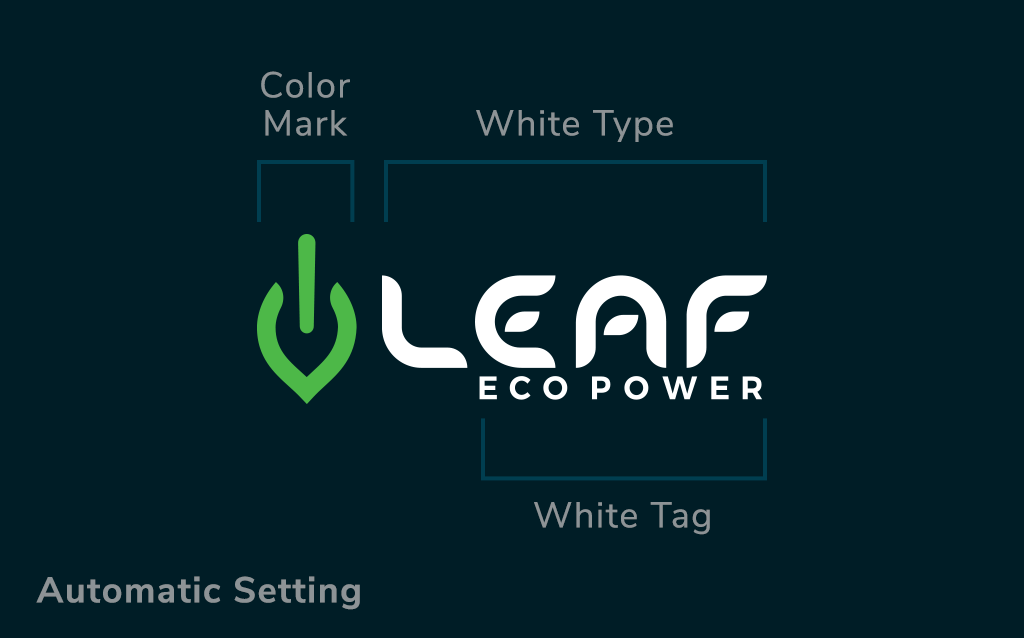
Logo Package Express has two methods for creating this color scheme. The first method is to check “Automatic.” This method will simply keep the logo mark in its original color and turn the logotype and tagline white.
The second method is to check “Manual.” This applies inversion rules to all of your set components and uses a threshold value to determine which colors should be turned white.
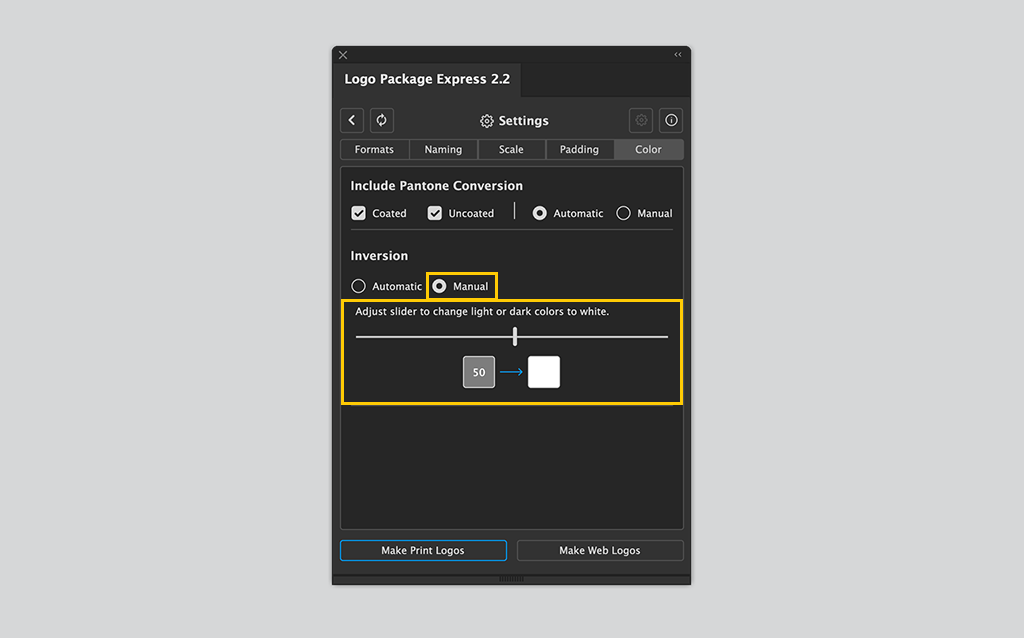
Setting a threshold value of 0 means that all colors from lightest in value to darkest in value will be turned to white. The closer the threshold value gets to 100, the darker a color must be for it to be changed to white. Colors with values that are lower than the threshold setting will keep their original color.
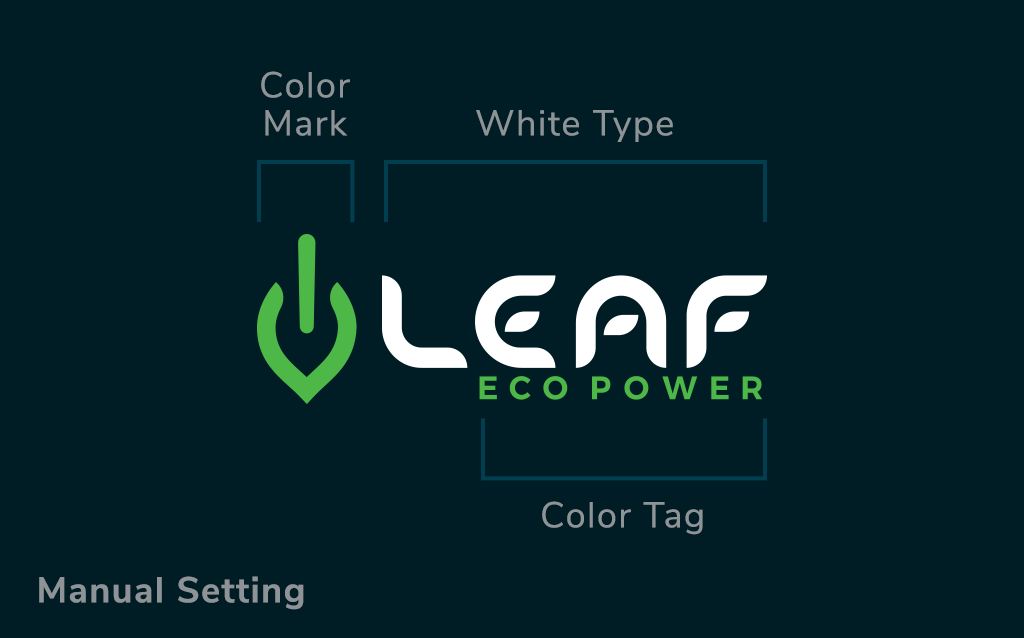
Let’s say that you checked “Manual” and set a threshold of 50. This means that Logo Package Express will look at the colors of all components. If those colors have a value darker than 50, they will be converted to white. Colors with values lighter than 50 will keep their original color.
Saving Your Settings with Presets
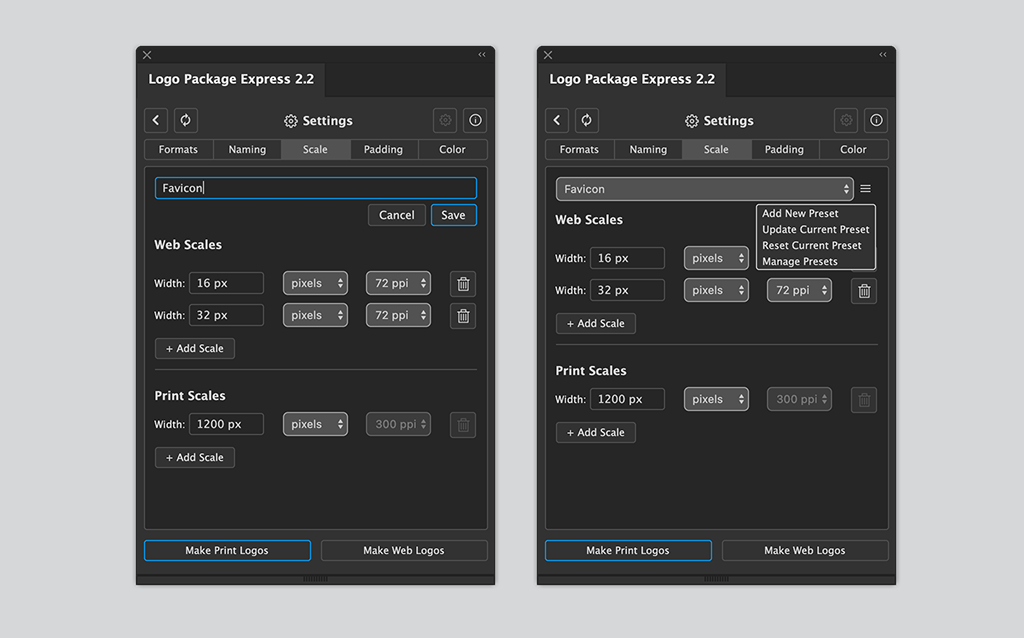
The naming and scales tabs both let you to save your fine-tuned settings as presets. To save a preset, just make the changes you want to the fields and then select the menu icon next to the presets at the top of the tab.
Then you can then select “Create Preset”. After you have created presets, you can manage them by clicking the menu icon again. You will be able to delete, reset, or update your presets.
Grab a copy of Logo Package Express
If you read this entire how-to guide, but you don’t have the extension yet, you can download it right now! Inkbot Design has worked with the creator of this extension to bring you a $20 discount.
[ Get $20 Off ]
Originally published at blog.thelogopackage.com on June 27, 2019.
