14 Dec 5 Must-Have Tools for Starting a Podcast
5 Must-Have Tools for Starting a Podcast
What makes podcasting great is that it has low barrier entry. It also requires minimal overhead and experience.
For instance, you can start a podcast by recording your episodes in your closet using your phone.
You only need an outline of what you want to talk about to stay on topic and not babble. You can download free tools to edit your audio before uploading it on a podcasting platform.
Depending on your budget, there are various podcasting tools that you can acquire. If you are curious what those must-have tools are, keep on reading.
The Best Microphone for Podcasting you can Afford
There is no denying that a good microphone is an essential podcast tool for beginners. That’s because it allows you to produce superb quality audio, which is already half the battle.
Remember: The better the audio quality of your podcast episode, the less time you have to spend on editing. This can help you save precious time, which you can use in producing more episodes.
Moreover, the quality of your audio can help enhance your audience’s listening experience.
If you are curious what are the best mics that you can purchase, here are some of our recommendations:
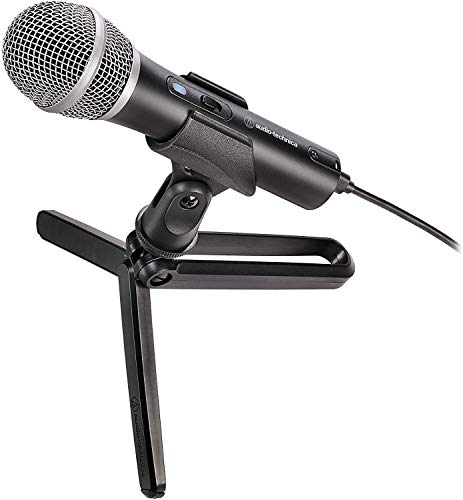
Audio Technica ATR2100x
- Handheld dynamic microphone with USB-C digital output and XLR analog output. Durable metal construction for long-lasting performance with smooth, extended frequency response perfect for podcasting, home studio recording, field recording, voiceover, and other content creation applications
- Usb output connects to your computer (Windows and Mac) for digital recording, While the XLR output connects with your sound system’s conventional microphone input for use in live performance. On/off switch functions for both USB and analog operation
- Built-in headphone jack lets you monitor directly from the microphone with dial on the bottom that allows you to easily adjust headphone volume
- Cardioid polar pattern reduces pickup of unwanted sounds from the sides and rear, improving isolation of desired sound source. Low-mass diaphragm provides excellent frequency response. High-quality a/D converter with 24-bit, up to 192 kHz sampling rate
- Sturdy tripod desk stand with folding legs is easy to set up and transport. Threaded stand clamp attaches securely to the supplied tripod or to a conventional microphone stand. Also includes three cables: USB-C to USB-C, USB-C to USB-A, and XLRF to XLRM
For less than $100, you can have a handheld microphone that produces a USB-C digital output and XLR analogue output.
It has durable metal construction and a smooth, extended frequency response. Hence, it is ideal for podcasting, whether you are doing it at home or as a nomad podcaster.
This means that you can do some mic drops with this microphone.
The USB output allows you to record your podcast straight to your laptop or desktop computer. On the other hand, the XLR output will enable you to connect your microphone to an audio interface.
Samson Q2U
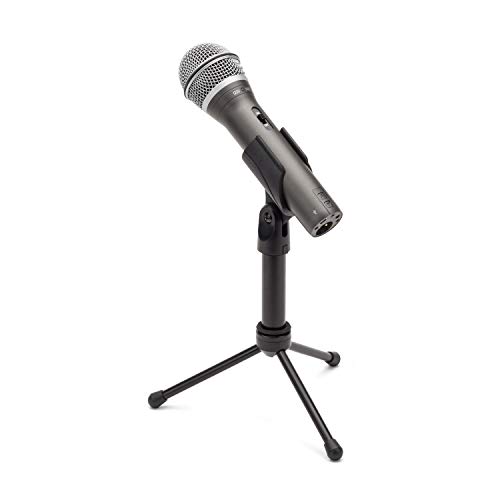
- Best of both worlds: professional handheld dynamic microphone with USB digital output for connecting to a computer and XLR analog output for connecting to a mixer, audio interface or portable PA system
- Sound your best: dynamic microphone capsule with a cardioid pickup pattern captures sound from in front of the microphone and less from the side and rear, minimizing ambient sounds and other room noises for podcasting, home recording or voiceover work. It also reduces possible feedback in live performance settings
- Hear the mix: onboard 1/8″ (3. 5mm) headphone jack allows for zero-latency monitoring, so you can hear yourself without any delay or echo, plus a mix of your computer audio playback. Solid, die-cast construction with heavy gauge mesh grille
- Start Recording: The Q2U is a plug-and-play device, meaning it doesn’t need any special drivers to work with your computer. Just connect the microphone to your computer, launch your favorite audio software, and start recording.
- It’s All in the Box: The Q2U Recording and Podcasting Pack includes everything you need to start recording great sounding projects: an extended desktop stand with mic clip that positions the microphone close to the sound source, a pop-filter for reducing p-pops, and USB and XLR cables.
Due to some licensing issues, the Audio Technica ATR2100x is unavailable in some countries. Luckily, you can use the Samson Q2U handheld USB microphone as an alternative.
It costs less than $100 and also provides USB and XLR output. The best part is that you can also use this microphone to record an episode using your phone.
This microphone also boasts a cardioid polar pattern. This means it can pick up sound in front of the mic while minimising ambient sound.
High-Quality Headphones
It may not look like it, but headphones are also a must-have when starting a podcast. This does not matter whether you are recording alone, with a co-host, or a guest.
For one, you cannot use your computer or smartphone as your audio output. This will cause your mic to pick up the sound, also called bleed or spill, which can mess up your recording.
And a messed-up audio recording means that it will be challenging to edit.
Second, a decent headphone allows you to monitor your recording. That way, you can prevent being too loud or too soft in your episode. Simply put, using a headphone enables you to produce consistent audio quality.
Luckily, you do not have to buy high-end headphones to get started. You can use whatever earphones or headphones you have and consider upgrading along the way.
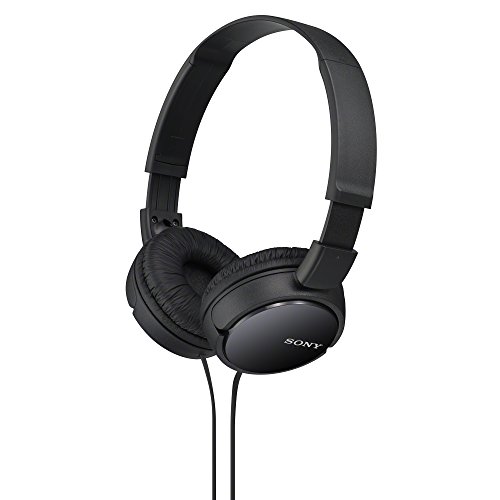
- Lightweight 1.38 in neodymium dynamic drivers deliver a punchy, rhythmic response to even the most demanding tracks. Driver Unit: Dome type
- The swiveling earcup design allows easy storage when you’re not using them, and enhances portability when you’re traveling
- Cushioned earpads for total comfort and enfolding closed-back design seals in sound
- The wide frequency range—spanning 12 Hz to 22 kHz—delivers deep bass, rich midrange, and soaring highs
- Plug: L-shaped stereo mini plug 3.5mm
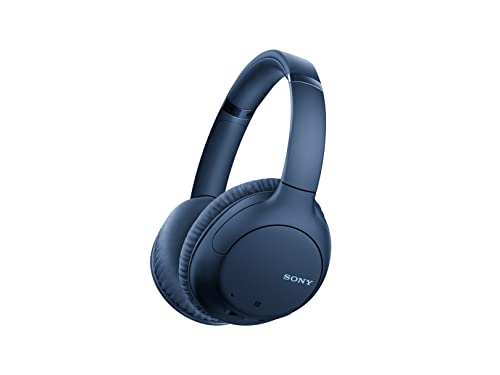
- Cancel out the world with smart noise cancellation
- Noise cancellation automatically senses your environment with dual noise sensor technology
- Long-lasting listening with up to 35 hours of battery and quick charging
- Smartphone compatibility for hands-free calls and use with your voice assistant
- Wireless Bluetooth streaming with NFC one-touch
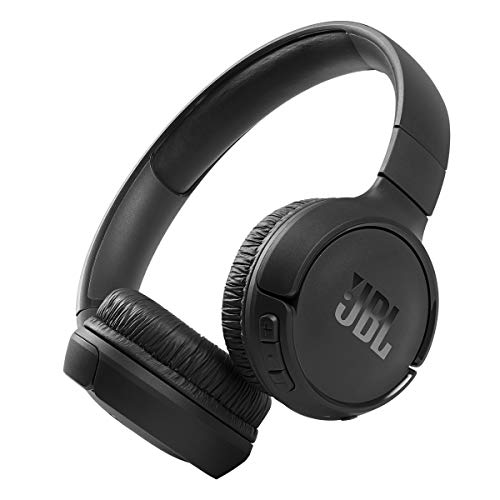
- The Tune 510BT wireless headphones feature renowned JBL Pure Bass sound, which can be found in the most famous venues all around the world.
- With Wireless Bluetooth 5.0 Streaming, you can stream wirelessly from your device and even switch between two devices so that you don’t miss a call.
- For long-lasting fun, listen wirelessly for up to 40 hours and recharge the battery in as little as 2 hours with the convenient Type-C USB cable. A quick 5-minute recharge gives you 2 additional hours of music.
- Easily control your sound and manage your calls from your headphones with the convenient buttons on the ear-cup.
- Siri or Hey Google is just a button away: activate the voice assistant of your device by pushing the multi-function button.
Long-distance Audio Recording Tools
The format of your podcast show will determine the setup you will need. This means that you will need two microphones and headphones if you have an interview format show.
But what if your guest lives miles away from you? This is where long-distance podcasting tools can come in handy.
SquadCast
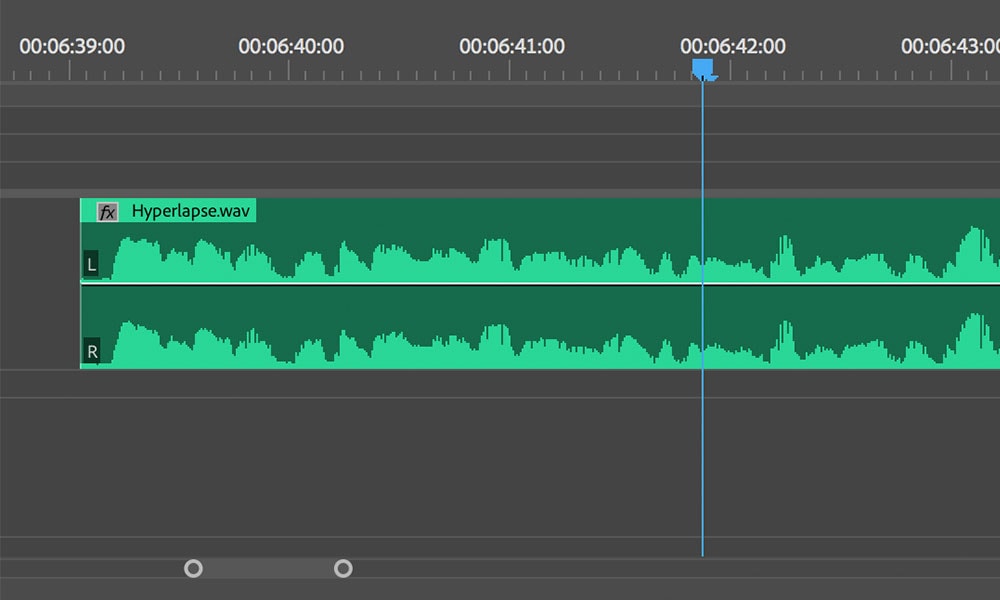
For $20 per month, SquadCast makes it easy for you to do a long-distance podcast interview. They produce the best audio quality due to lossless audio.
It also allows you to have two separate tracks (one for you and one for your guest), making audio editing easy as a breeze.
Zoom
If you do not have the budget, we recommend using Zoom.
It does not have the lossless audio that SquadCast has, but it has better sound quality compared to Skype. Plus, unlimited one-on-one video conferencing is available on the free plan.
However, remember to enable separate track audio recording for your convenience.
Audio Editing Software
Say you already recorded your first few episodes. The next step is to edit them. There is various audio editing software available in the market, but here are some of our recommendations:
Audacity
Audacity is a free audio editor commonly used to edit your podcast episode. It has pro-level features, which is excellent, but this tool has a steep learning curve.
GarageBand
Your Mac desktop or Macbook comes pre-installed with GarageBand. It is a free audio editing software, although more intuitive than Audacity.
Podcast Host or Platform
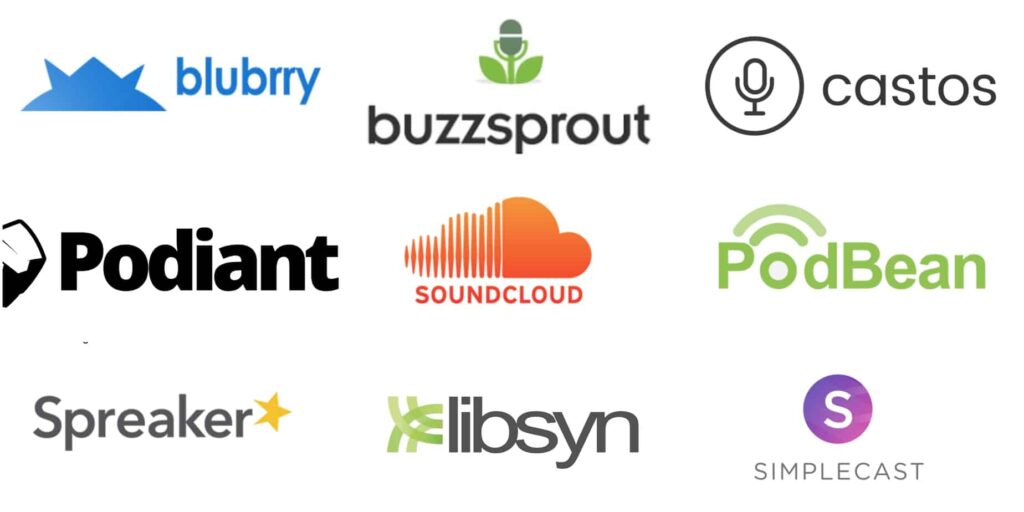
A podcast host is where you publish your episodes and make them accessible for your listeners.
There are dozens of podcast hosts where you can post your recordings to ensure they are listed on Spotify, Google Podcast, and Apple Podcast.
Anchor
Owned by Spotify, Anchor is a beginner-friendly podcast host that allows you to record, edit, and publish your episodes.
From there, your podcast can get listed on listening platforms like Spotify, Google Podcast, Apple Podcast with ease.
The best part? This host is totally free!
Buzzsprout
For $12 per month, you can have your podcast listed on various listening platforms through Buzzsprout.
They have one of the best-designed dashboards, simplifying your podcast publishing without feeling limited. Hence, you can spend more time producing episodes than mess around with uploading your audio.
Other Podcasting Equipment
The tools listed above are the essential equipment you need to start podcasting. However, the following can help enhance the audio quality of each of your episodes:
Foam Ball or Pop Filter
A microphone is a sensitive device. It can pick up many sounds, including your breathing and the pop of air that comes out of your mouth for /p/ and /s/ sounds.
Using a foam ball or pop filter, you can prevent your mic from picking up these unwanted sounds.
A foam ball is that foamy cover that you put on the microphone. It can cost less than $10 but can help you improve audio quality. Meanwhile, a pop filter is a screen you place in front of the microphone that has the same purpose.
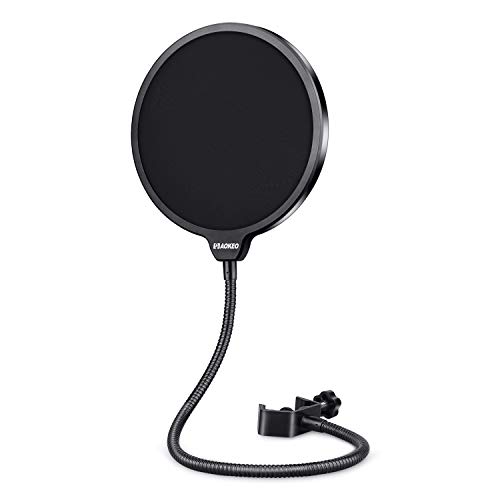
- Double Layered Screen Pop Filters: The first screen blocks air blasts as any pop filter normally would; The gap in between then disperses any remaining air pressure, so by the time it passes the second screen, the blast is easily contained to produce great quality recordings.
- Universally Compatible: Adjustable screw rotating clamp with scratch-proof gripper can secure variety tubular mounting booms or microphone stands. Eliminates anyone’s extra elements that prevents them from recording/projecting their best vocals to the public or their audience.
- Adjustable Gooseneck: The steel metal gooseneck holder fully supports the filter’s weight and keep it in place. You can adjust the angle and distance between the screen and the microphone to best fit your needs for yours lovely voice.
- Functions: Banish the dreaded hissing and lisping sounds that come when pronouncing the letter “S” and blocks those ugly “plosives” that follows “B” and “P”. It is a great item for singers, streamers and actors alike who want help achieving the best possible performance and help protect the spitting all over your personal microphone.
- DRAW THEM IN – NOT TOO LOUD, NOT TOO QUIET- WHILE MOST Blue Yeti Microphone Filters are no better than DIY mesh pop filters, Surface Spacing acts like an AMPLIFYING MODIFIER, toning down those overly excited moments that make your voice sound brash, without turning a whisper into silence during those “Quiet Spoken Secrets” moments when you need to REEL YOUR AUDIENCE IN.
Microphone Boom Arm
A boom arm is where you attach your microphone for better placement. That way, you do not have to hold your mic and ensure better audio quality for your podcast.
However, you do not need something fancy for your boom arm.
If you are doing a solo podcast, the small mic stand that comes with your Audio Technica ATR2100x or Sams on Q2U will suffice. Should you get a boom arm, we recommend the Samson MBA38 and the RODE PSA 1.
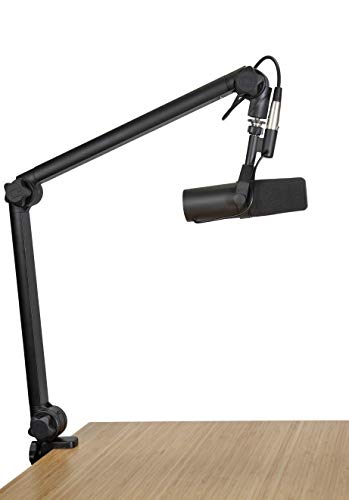
- Rotates Full 360-Degrees with Minimal Noise
- Fixed, Internally Guided 10’/3. 05m XLR Cable Included
- Spring-Loaded Articulating Arm with 4. 4 lbs. /2 kg Max Weight Capacity & 32. 25”/940mm Max Extension
- Easily Mounts or Clamps to Desks, Tables & Similar-Sized Surfaces 2. 17”/55mm Max in Thickness
- Standard 5/8”-27 Mic Threads for Connecting Most Podcast and Vocal Microphones, Including Shure SM7B, Shure MV7 Models
![MOUNT-IT! Adjustable Microphone Boom Arm [3/8’’ to 5/8’’ Screw Adapter] Suspension Scissor Mic Stand, Desk Mount For Blue Snowball, Yeti, & Other Studio and Gaming Microphones (With Cable Management)](https://www.bluebytemedia.com/wp-content/uploads/2021/12/5-must-have-tools-for-starting-a-podcast-9.jpg)
- UNIVERSAL COMPATIBILITY: The boom mic arm can attach your Blue Snowball or Blue Yeti along with most microphones (Microphone in picture not included).
- HEAVY-DUTY ARM: Made from Aluminum and steel, this sturdy boom microphone arm and stand can hold most microphones, with a bearing capacity that can hold up to 4.4 lbs.
- FULL MOTION ADJUSTABILITY: Clamp this articulating microphone arm to any corner of your desk and enjoy nearly 360° of this smooth built-in spring-based balance system, within a compact scissor designed suspension arm.
- EASY TO SET UP: Whether you’re using any microphone condensers, connecting them to this boom arm and clamping it on your studio set up is a breeze. Everything you need from a screw adapter, instructions, and tube style cable management comes inside the box!
- STABLE AND SAFE: Advanced suspension springs on each boom arm prevents your microphone from shaking, suddenly dropping, sinking, dipping, or making noise. The mic boom arm bends and articulates back and forth at the base, making movement smooth and solid. The clamping mechanism won’t leave marks or dents, making it safe for use on your desk, shelf, or furniture without the risk of damage.
Audio Interface
An audio interface is a must if you often record a podcast episode with a co-host guest in a studio.
This kind of podcasting setup requires that you use two microphones.
However, it is not recommended to plug two mics in one computer as it prevents you from having two audio tracks. This means that editing your episode can be challenging.
You would not want two people to share your mic, either, because of the same issues.
Moreover, different people have different voice qualities. Some have a round, deep voice, while some have a timid voice. It can pose many issues when you only have one audio track to audit.
That said, you should run your microphones to an audio interface using XLR cables.
If you wonder what audio interface to buy, you can opt for the Focusrite Scarlett 2i2.
For $170, it is one of the most budget-friendly audio interfaces that you can find. If you have the budget, consider the RODEcaster Pro that costs $600.
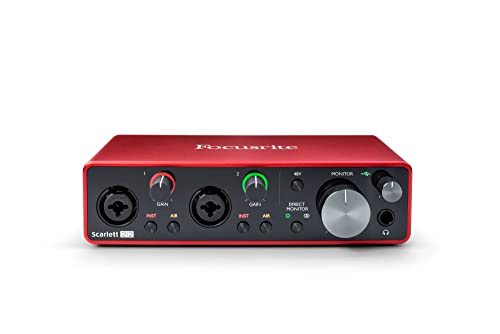
- Pro performance with the finest pre-amps – Achieve a brighter and a more open recording thanks to the best performing mic pre-amps the Scarlett range has ever seen. A switchable Air mode will add extra clarity to your acoustic instruments when recording with your Scarlett 2i2.
- Get the perfect guitar and vocal take – There’s no need to sacrifice your tone with two high-headroom instrument inputs to plug in your guitar or bass so that they shine through. Capture your voice with clarity and your instruments in all their glory without any unwanted clipping or distortion thanks to our Gain Halos.
- Low-noise for crystal clear listening – Two low-noise balanced outputs provide clean audio playback. Hear all the details and nuances of your own track or music from Spotify, Apple Music and Amazon Music. Plug-in your own headphones via the output for private listening in high-fidelity.
- Studio quality recording for your music and podcasts – You can achieve professional sounding recordings with Scarlett’s high-performance converters which enable you to record and mix at up to 24-bit/192kHz. Your recordings will retain all of their sonic qualities so that you can sound like the artists you admire.
- Easy Start – It’s easier than ever to get up and running with your Scarlett with our online tool, Easy Start. Whether you’re looking to record or playback audio, we will help you get started.
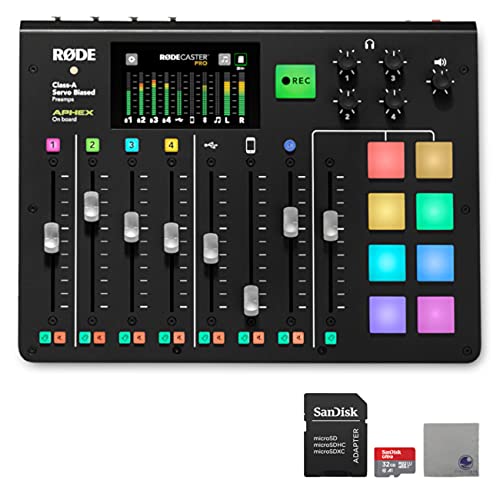
- Easy-to-use integrated podcast production console
- Records 24-bit/48kHz audio directly to microSD card or computer via USB
- Seamlessly streams live shows
- 4 Class A mic preamps
- 48V phantom power
5 Quick Tips to Remember Before Recording Your Podcast Episode
Now that you have a list of must-have podcasting tools, it is time to record your first episodes. But before you begin, make sure to keep these tips in mind:
Have a Podcast Outline
One of the common mistakes that a podcaster makes is rambling. When you talk endlessly, without noticing that you are moving away from your topic.
Hence, it would help to outline your episode before you start recording.
You do not need to write your outline verbatim unless you have a scripted podcast format like Serial or Hardcore History.
Nonetheless, your outline must include the sub-topics you want to talk about. That way, you would know how your episode should flow. This can also come in handy when you publish podcast show notes.
If you have a guest or co-host, make sure to share your episode outline. That way, they can also have an idea of the episode flow.
Pick a Place to Record
Not everyone can set up a podcast studio. However, it does not mean that you cannot do it at home.
The rule of thumb here is to ensure that there is as little noise in the room as possible. That way, you have less unnecessary sound to edit out of your episode.
We do not recommend recording in the bathroom or any small space with plenty of flat surfaces. Flat surfaces mean more reverberation, which means you will hear echoes in your episode.
Instead, make sure that your room has plenty of reflective surfaces. This includes clothes, carpeting, and furniture. You can even hang black-out curtains around your room!
That’s because these materials can absorb sound, reducing the amount of reverberation that your microphone can pick up. This also explains why some podcasters recorded their first couple of episodes in a closet.
In our opinion, picking the best place to record is more vital than what microphone and headphones you should buy.
That’s because the best way to ensure that your podcast has a crisp audio quality is to prevent unnecessary noise from happening in the first place.
Set Up Your Recording Equipment and Tools
Of course, you want to ensure that everything is all set and ready before you record your episode. Here are two ways to set up your podcast recording tools:
Using USB Microphone
Plug your microphone straight into your computer’s USB port. Once done, go to your audio editing software’s settings, and highlight your mic as the audio input.
Using XLR Microphone
Using an XLR microphone, you can hook it up to your computer using a USB interface. Another option is to plug your mic into an external audio recording device and save it on an SD card.
Once done, plug your SD card into your computer and import the audio file for editing.
Regardless of the setup, make sure that your mic is turned on.
Know Your Microphone Techniques
Aside from having an ideal recording studio and setting up your podcasting equipment, it also helps that you know your microphone techniques.
Doing so ensures that the volume of your voice remains constants.
It also prevents your mic from picking up plosives (the /p/ sounds) and sibilance (the /s/ sounds). Lastly, you would not want to sound too loud or soft in your recordings.
To do that, here are four quick tips that you need to remember:
- Position your microphone at least four inches away from your mouth.
- If you naturally sound nasal, consider positioning the mic in front of you. That way, your mic can pick up a whole and upfront sound.
- On the other hand, place your mic off-axis so it can also pick up high audio frequency.
- Move away from the mic when you’re not speaking. You would not want to hear Darth Vader in your recording.
Pro tip: Practice your mic technique and experiment on this before recording your episodes.
Grab a Drink
Always have a glass of water nearby. This is to ensure that your voice will not run dry while recording. Doing so provides smoother and more natural-sounding audio.
Refrain from drinking carbonated drinks when recording to prevent hiccups and burps. There is no need to worry about mistakes and stammers, as you can always edit it out later.
Bottom Line: Produce an Excellent Show
Starting a podcast does not require spending thousands of dollars.
Sure, your episodes must have a crisp sound. Nonetheless, people will listen to your podcast because of your content.
This also explains why podcasting can be an integral part of your branding and content marketing campaigns.
Hence, having a podcast topic worth listening to is more vital than buying $600 worth of audio interface.
Do not let the lack of podcasting equipment stop you from recording your first episode. Maximise whatever tools you have at your disposal, and then go from there.
The post 5 Must-Have Tools for Starting a Podcast is by Stuart and appeared first on Inkbot Design.